This next card uses the “faux layering” technique to create a “flat” card front with multiple “layers” of inlaid die cuts. As you can see in this card, with the exception of the small butterfly, all the elements are flush with the designer paper layer.
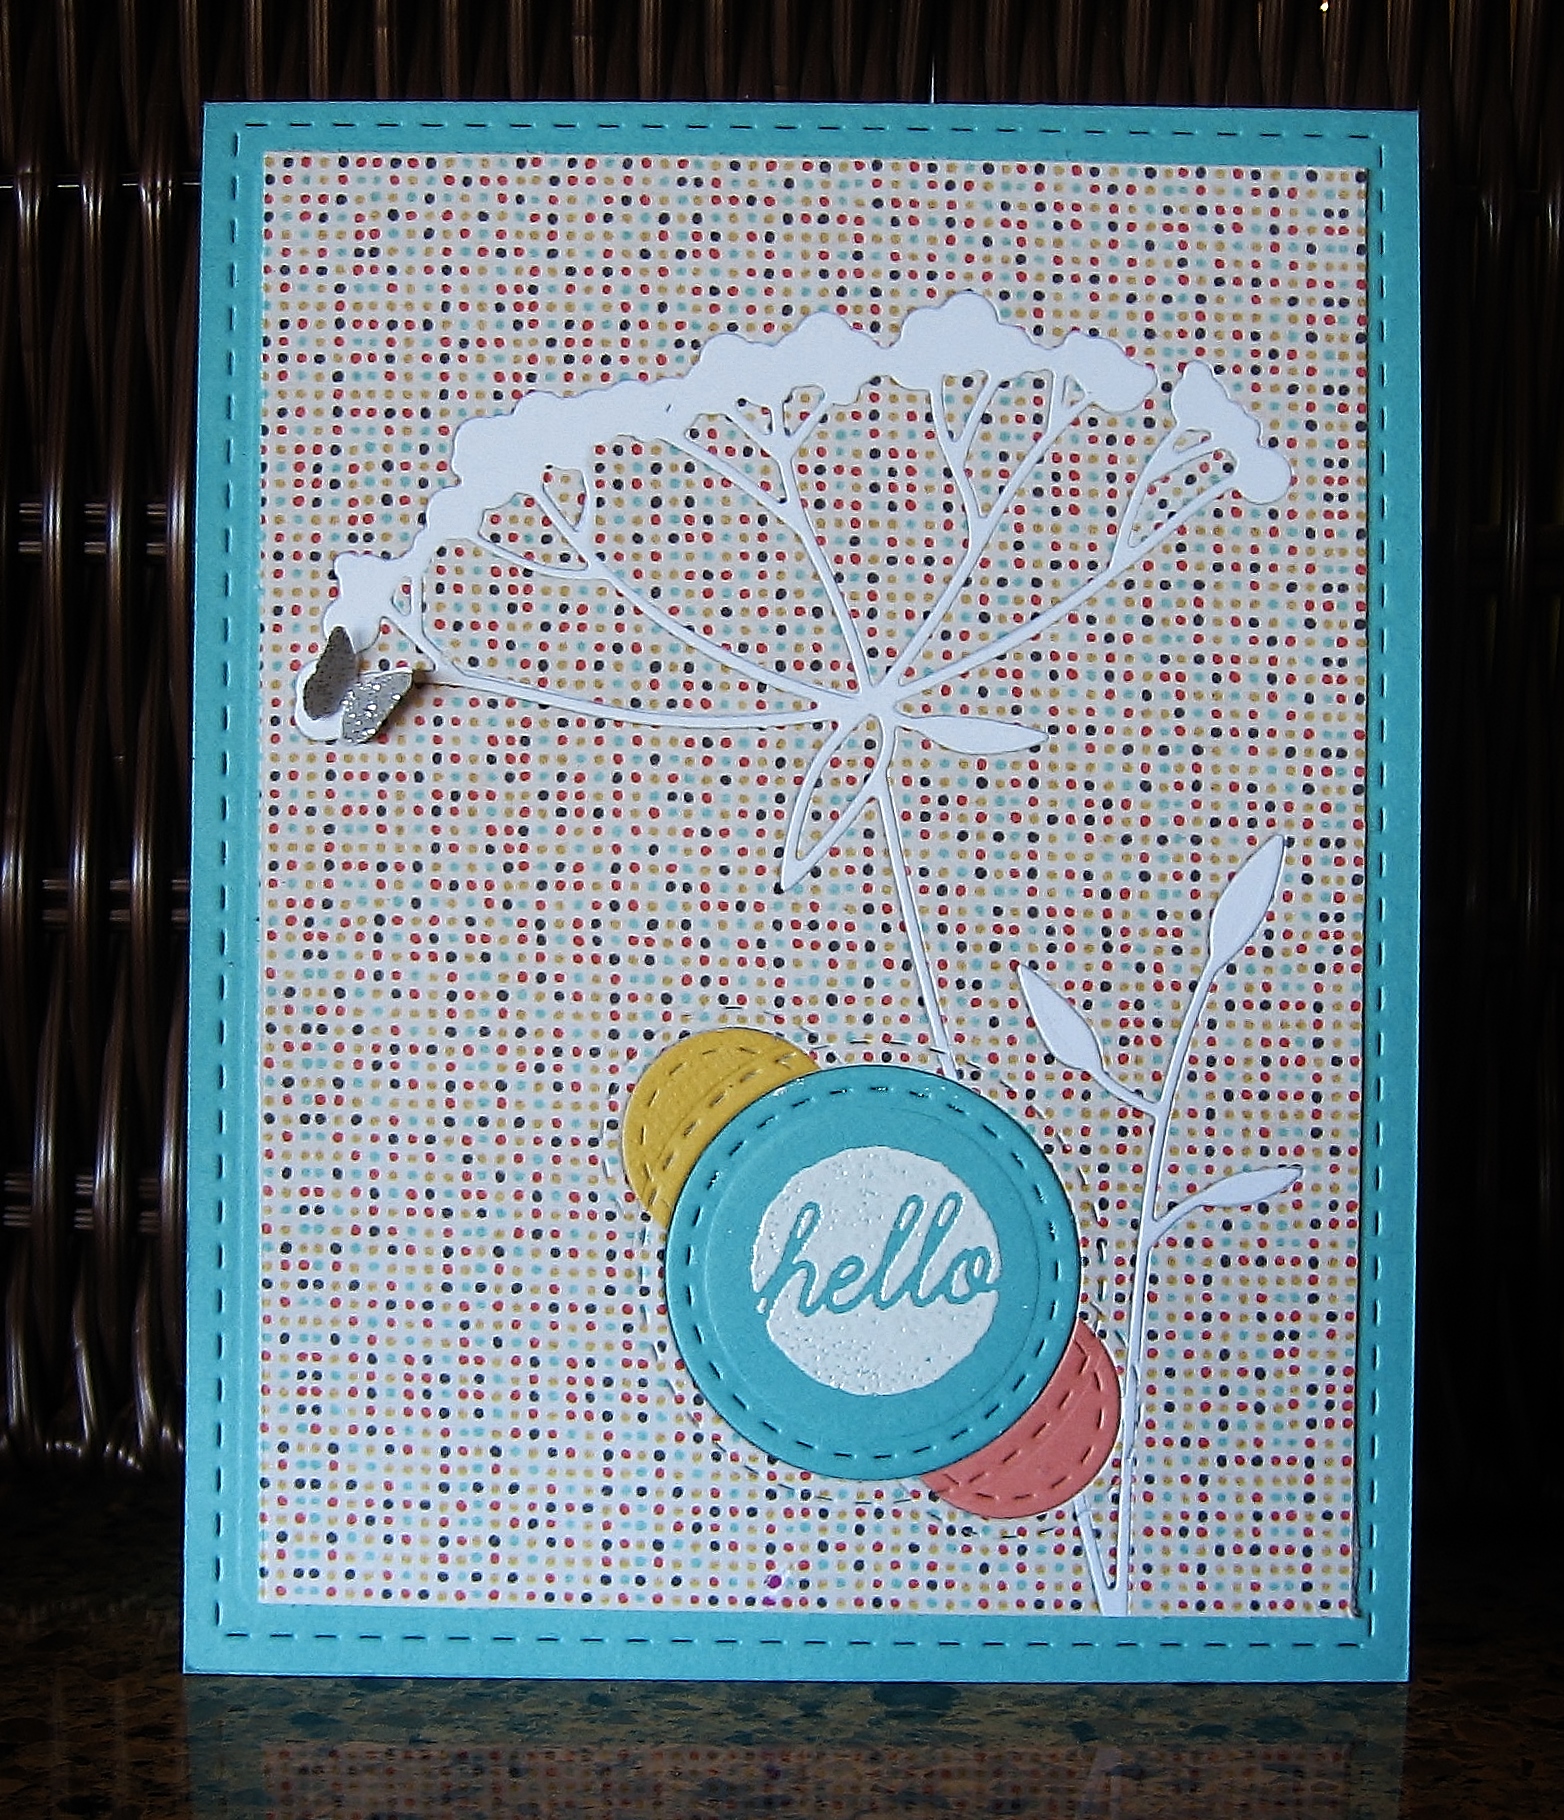
by Stephanie S. Bush @ inkyantics.wordpress.com
Supplies:
- Neenah Solar White Cardstock
- Designer paper from Basic Grey Paper Cottage 6×6
- Solid colored cardstocks from Gina K. Designs (http://shop.ginakdesigns.com/)
- Graceful Silhouette Die by Memory Box (http://memoryboxco.com/)
- Lil’ Inker Stitched Circles (http://www.lilinkerdesigns.com/)
- Sentiment from June 2012 Studio Calico card maker set
- Versamark Ink and Wow! Opaque Bright White Embossing Powder
- Butterfly punch by Martha Stewart
This next card was made with the multi-layered stamping to create a “faux” letterpress look on the background. I also used embossing paste, with embossing powder over it, heated it up to create the raised “good luck”.
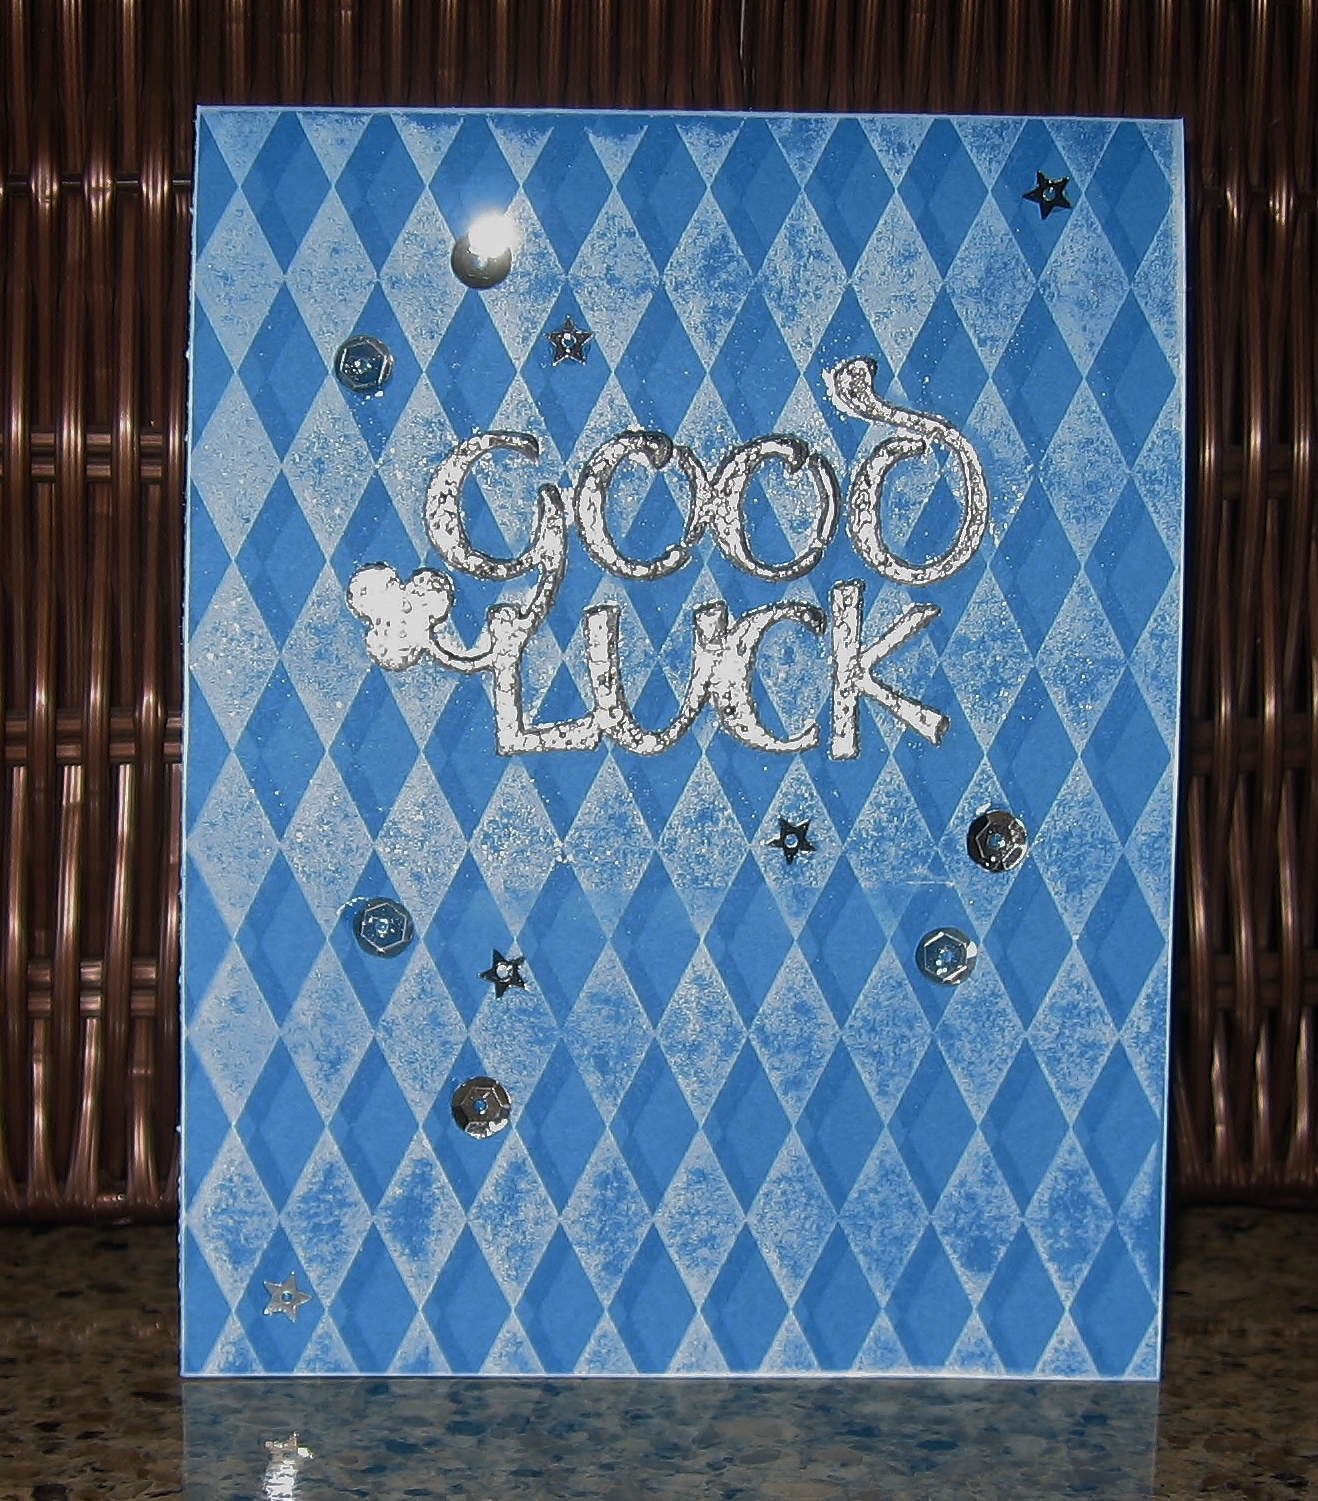
by Stephanie S. Bush @ inkyantics.wordpress.com
Supplies:
- Gina K. Pure Luxury Blue Raspberry Cardstock
- Impression Obsession Harlequin background stamp
- Versamark
- WPlus9 Pure Pigment Inkpad in White
- Sequins
- Sizziz Brass “good luck” stencil
Now onwards to Day 3 & 4 homework!

Great job Stephanie!
You’re too sweet! 🙂