OCC Clean & Simple 3 – Days 7 & 8 – Creative Coloring: Tracing Images

The card by Tasnim Ahmed is totally spectacular!  I struggled with finding an image with which I could replicate her technique.  Most of my backgrounds are either very simple or very,very detailed – as with the Impression Obsession C-A-C Roses background which I used on this one layer card.

Image

created by Stephanie S. Bush @ inkyantics.wordpress.com

In tracing the image, much of the original detail got lost.  However, I like the contrast between the traced images and the original stamped images in the background.  I used copic markers to color the image and a Uni-Ball Signo gold gel pen for tracing. Need to get hopping on the housework for a bit before trying some more “homework”! Hugs!

OCC Clean & Simple 3 – Days 7 & 8 – Creative Coloring: Simple Copic Coloring

One of the creative coloring techniques presented in class is simple copic coloring.   Essentially, you color with copics on vellum so that it shows through a die cut window of the card.

I chose two dies with which to create the windows on the panel of the card.  First, I cut the word “hugs” and then, I partially die cut the flowers from the top of the panel, down to the tip of the “u” in hugs and then, cut the die from the bottom of the panel up to the “g” in the word “hugs”.   As I am looking at the card now, I realize I probably should have extended the cut between the “u” and the “g”. Oh well.  It is just practice. 🙂  I still think it turned out quite lovely!  And at first glance, I doubt anyone would notice…. I certainly didn’t as I was creating it.

I colored with copics.  I used the brush end to “dot” color over the letters.  I used the darkest color of each set on the words and two of the lighter colors on the stems and flowers.

Creative Hugs

created by Stephanie S. Bush @ inkyantics.wordpress.com

On to more “homework”!  I just love “homework”, don’t you?  It sure as heck beats doing housework!!! Hugs!

OCC Clean & Simple 3 – Days 5 & 6 – Backgrounds into Foregrounds: Graffiti Stamping

I have to say that I have NEVER seen graffiti as pretty as Shari Carroll demonstrated on her card!! 🙂

To be more authentic in regards to “graffiti”, I intentionally (yea, right!) went for the more messy variation! (if you believe that, I have some ocean front property here in Oklahoma!).

While I did intend to put the sentiments at a slant (honestly, I did!), they weren’t lined up very well (in my opinion).  So, to “fool the eye”, I added the stitching pattern over the entire thing!  This helped it to look more “graffiti-ish”, IMO! 🙂

Image

created by Stephanie S. Bush @ inkyantics.wordpress.com

I am off to do more “homework” and then some housework (yuck!).  Hugs to all!

OCC Summer Card Camp 2 – Week 3, Day 5 Homework

Hey all!  Here is my homework for yesterday’s class — yea!!! I’m all caught up on the homework!!! I’m so thrilled!  While yesterday was the last day for homework at Summer Card Camp 2, we do have a wrap-up day on Monday – I’m keeping my fingers crossed that I win some juicy prize! lol  (Just as I am sure the other several hundred participants are doing!)

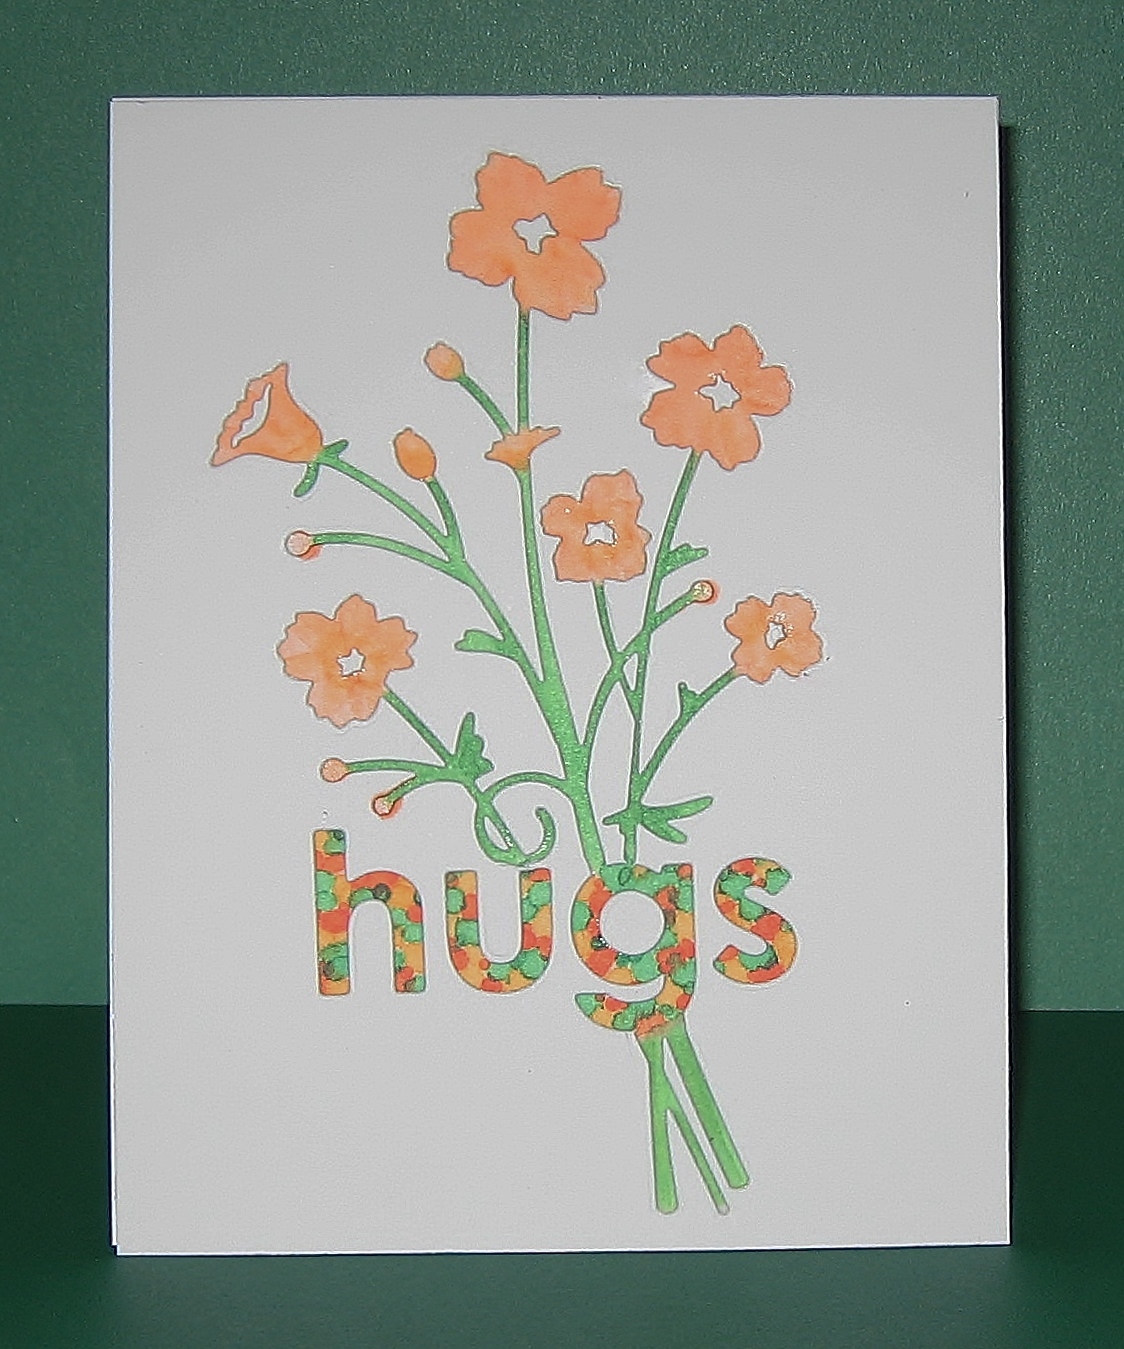
I chose the first color palette from Friday to do my card in — on my computer monitor the colors look like white, orangish-yellow, red and two shades of blue.   I know the fabulous Julie Ebersole interpreted it as yellow – and even though the teacher is ALWAYS correct <grin> – I decided to interpret it as orange! Here is my card –

Image

I made my own faux windstream using one of the Snowdrift dies from My Favorite Things.  The hot air balloons were made with the Up, Up & Away set by Papertrey InK, along with the matching die set.  The clouds are also Papertrey Ink dies – Cloud 1 & 2.

Copics were used to color the images; and the sentiment was heat embossed with Zing! embossing powder.

Hope everyone gets to catch up on their homework assignments! Take care and hope to see you soon at another class in blog land, or please feel free to stop by whenever! Hugs!


OCC Summer Card Camp 2 – Week 3, Day 1

It’s the start of a new week over at onlinecardclasses.com, and you know what that means….. new sketches and color combination!!! So let’s get crackin’!  Deciding on a sketch was tough as they all three were so well put together, so after doing eeny-meeny-miney-mo, I picked the 3rd sketch! lol

ImageFor the card base, I chose Gina K’s Pure Luxury Dark Chocolate for the brown in the color palette.  Since we were only required to use 4 of the 5 colors, I used 2 shades of purple, aqua blue (and as just mentioned – the dark brown) – so there is no light brown on this card.  The three accents in the sketch I chose to move up and place by the sentiment – they are actually white, but I think they picked up some of the brown in the reflection in the picture.

The bottom portion of the card is Neenah Solar white cardstock which was dry embossed with an Anna Griffith embossing folder.  I then used Versamagic Dew Drop ink pads to lightly color the embossed images.

This is a lovely color combination, and I am looking forward to playing with it some more over the next few days!  Hugs!

OCC Summer Card Camp 2 – Week 2, Day 5 Homework

Yes, today is Sunday – and the subject for today’s post is this past Friday’s homework at onlinecardclasses.com.  Our assignment, should we choose to take it, is to create something utilizing one of the six new color combinations.  The color combo I chose is the last combination which included white, a light blue, a darker blue, green and mid-tone shade of pink.  Using Jennifer’s method for the trifold card, I created the following card –

ImageThe lighter blue is on the strips on the sides of the cards and the darker blue is the sentiment which is embossed with Zing! Denim embossing powder.  Love the style of this card.   Before I made this card, I tried to incorporate the ink-carving method for the leaves – however, because the white spaces in the flower I used were so crisp and thin, the resulting ink-carved leaves looked kind of “cartoonish” next to the flower as the ink-carved veins in the leaves were much wider and less structured. So, I chose a different leaf for the card.  However, I did learn that the ink carving was doable on clear stamps with dye inks! Nice to have another technique in the tool belt, so to speak!

Hope everyone is having a fantastic weekend!  This ol’ gal is going to take a nap. 🙂 Hugs!