A Die-cut Christmas

Howdy folks!  It’s been a long while since I posted last.  Too many challenges with health and well-being, along with the great planning and excitement of my oldest son’s graduation from college! 🙂  I can’t tell you enough about how proud I am of his accomplishments!  He has a job lined up – 2 days after graduation – and starts in January 2015.

Since I have a bunch of pictures of the cards I made for this Christmas – I will list supplies for all of them at the end of this post.  I tried to remember everything I used, but I may have missed something – so if you have any questions, please leave me a comment, and I will try to address it as soon as I can.

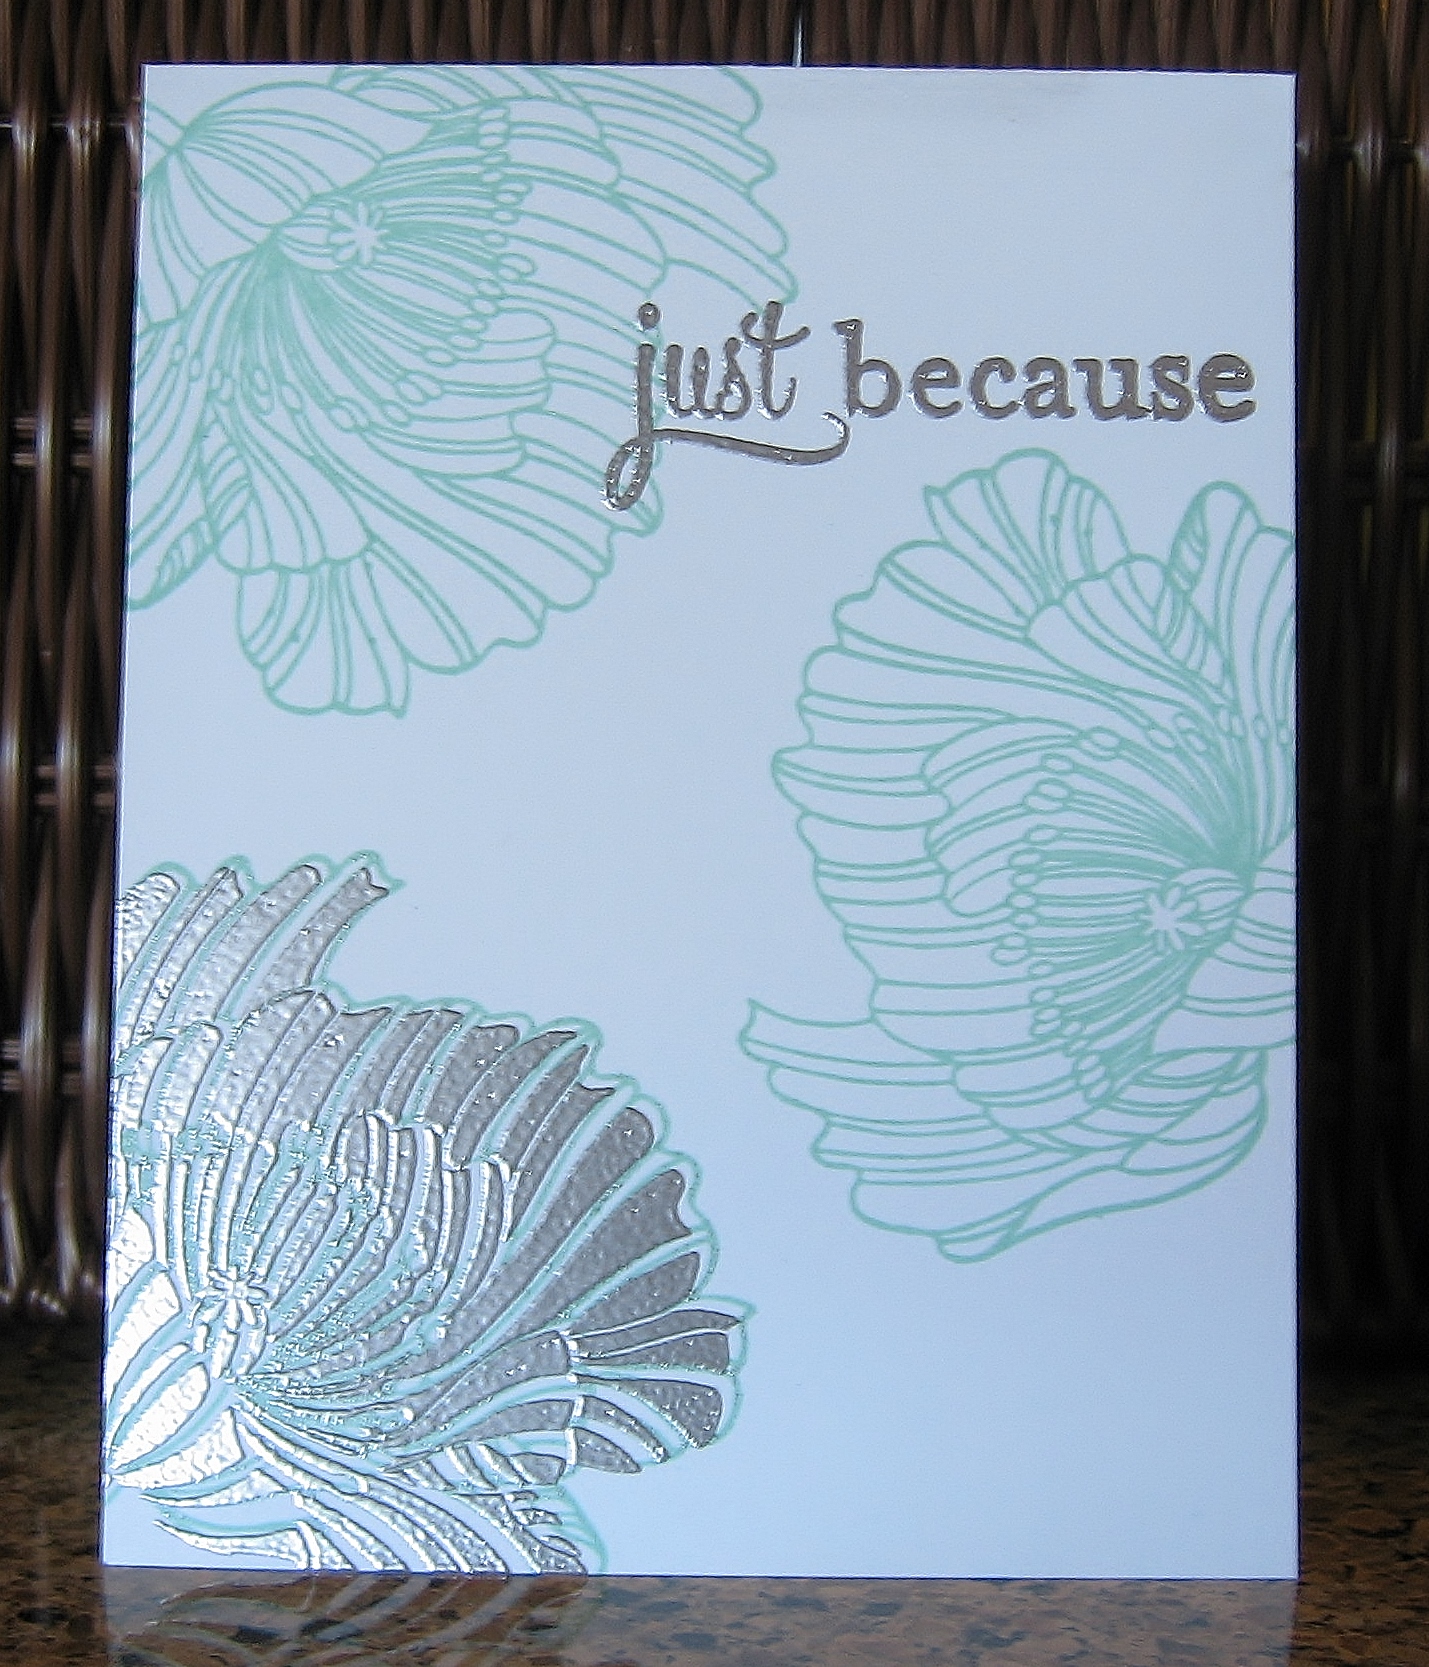
While I own more stamps than any one woman should have, I also am in the same predicament with steel dies.  I love, love, love them!  The front of all the cards were done solely with dies – with the exception of one card.  All of the insides of the cards, however, do have stamped sentiments (from Penny Black’s Christmas Cheer stamp set).

Without further ado ….

Xmas Set 1 Xmas Set 2 Xmas Set 3 Xmas Set 4 Xmas Set 5 Xmas Set 6 Xmas Set 7 Xmas Set 8 Xmas Set 9 Xmas Set 10 Xmas Set 11 Xmas Set 12

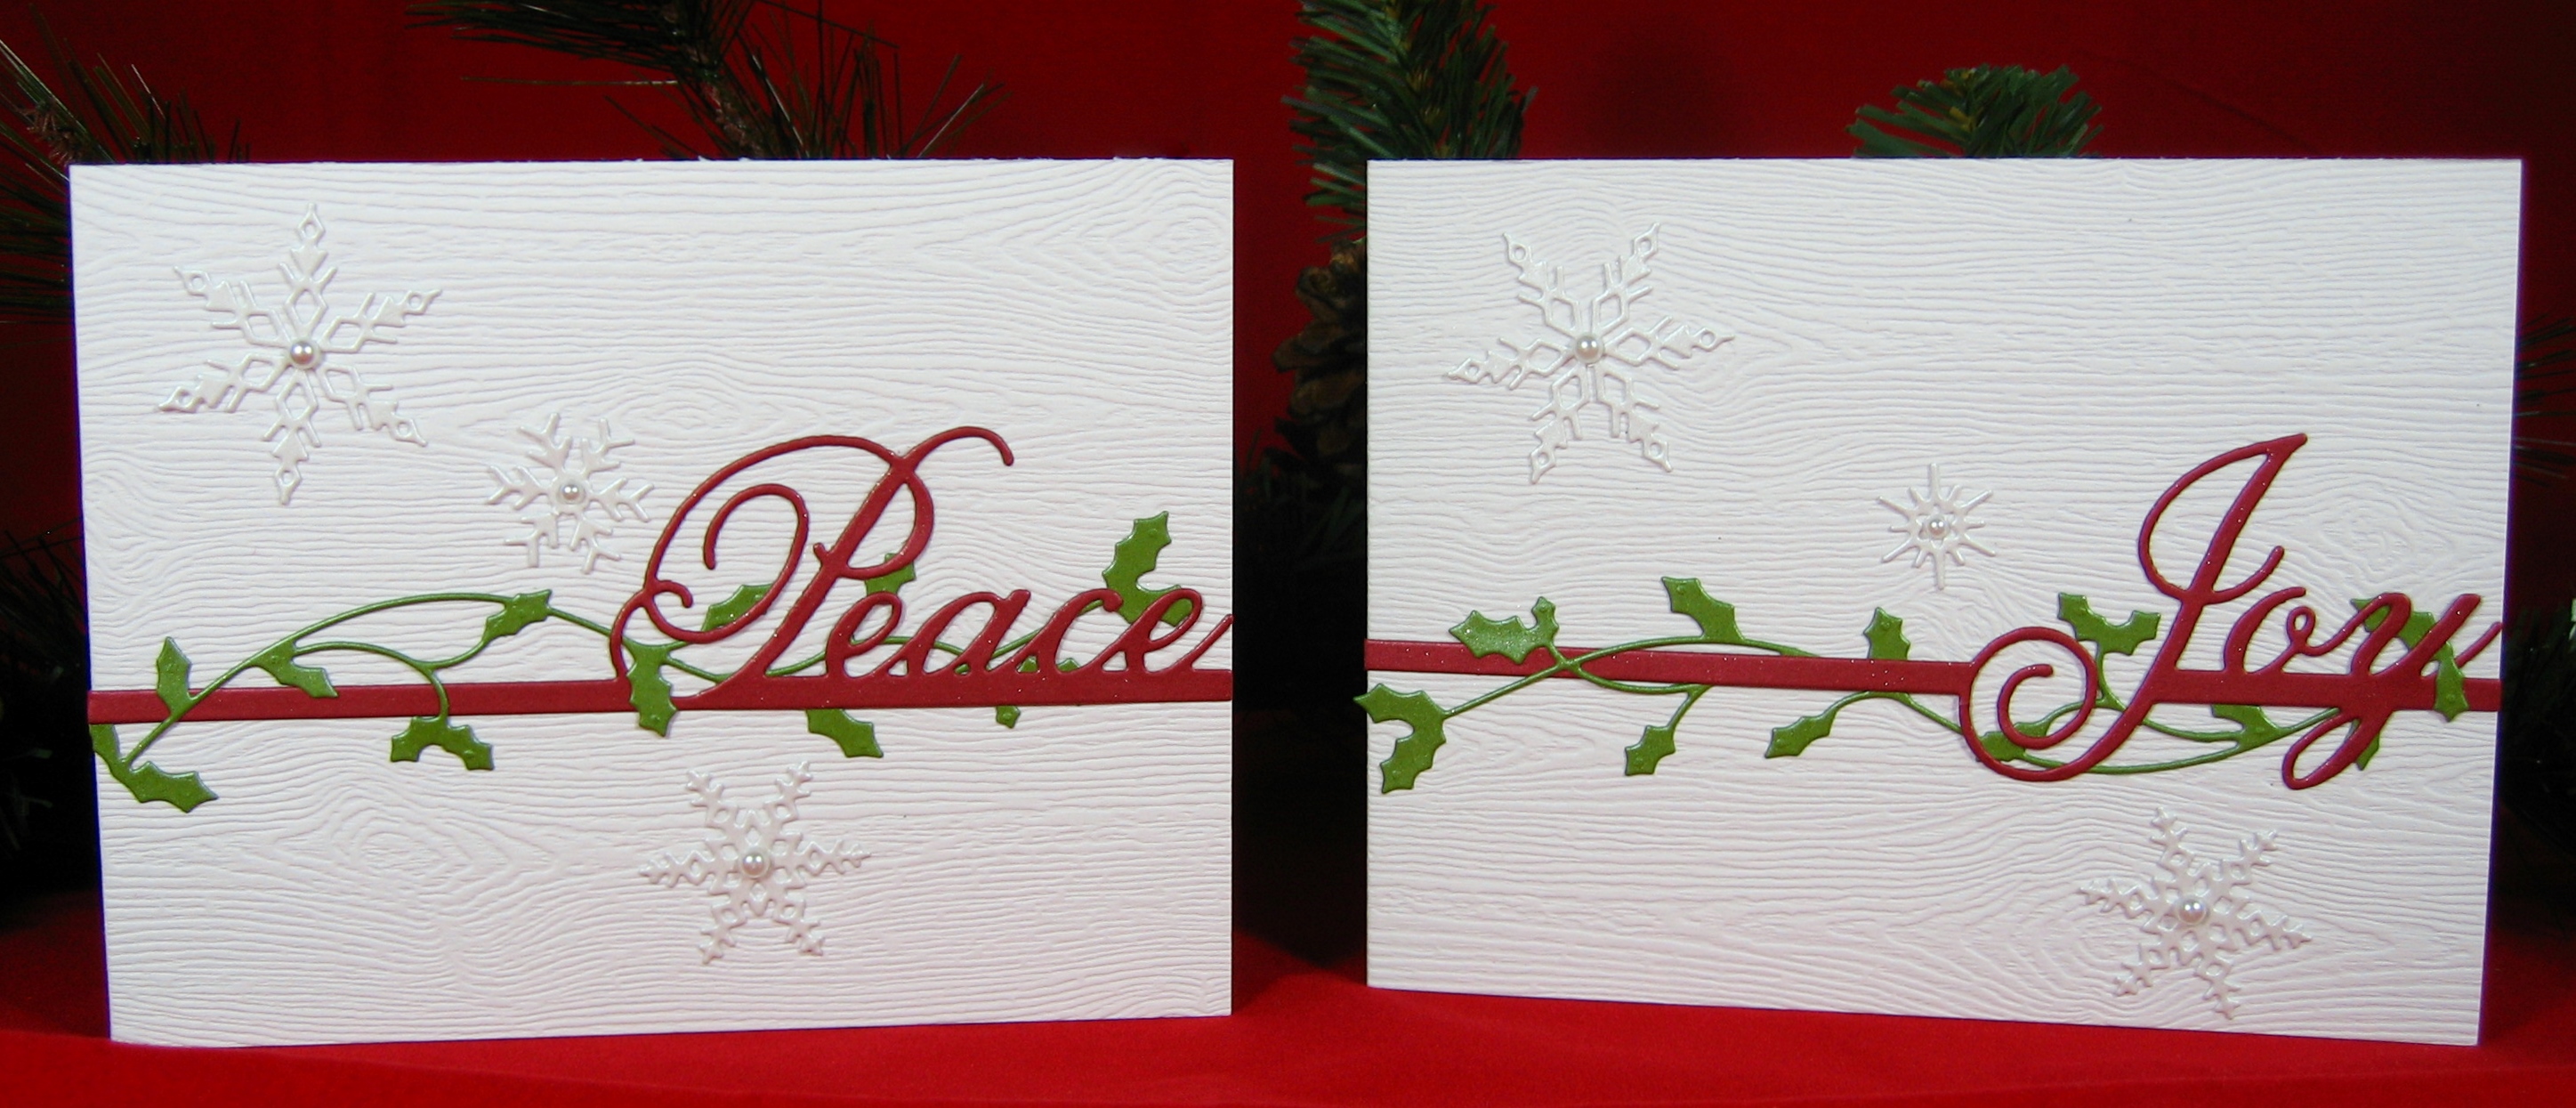
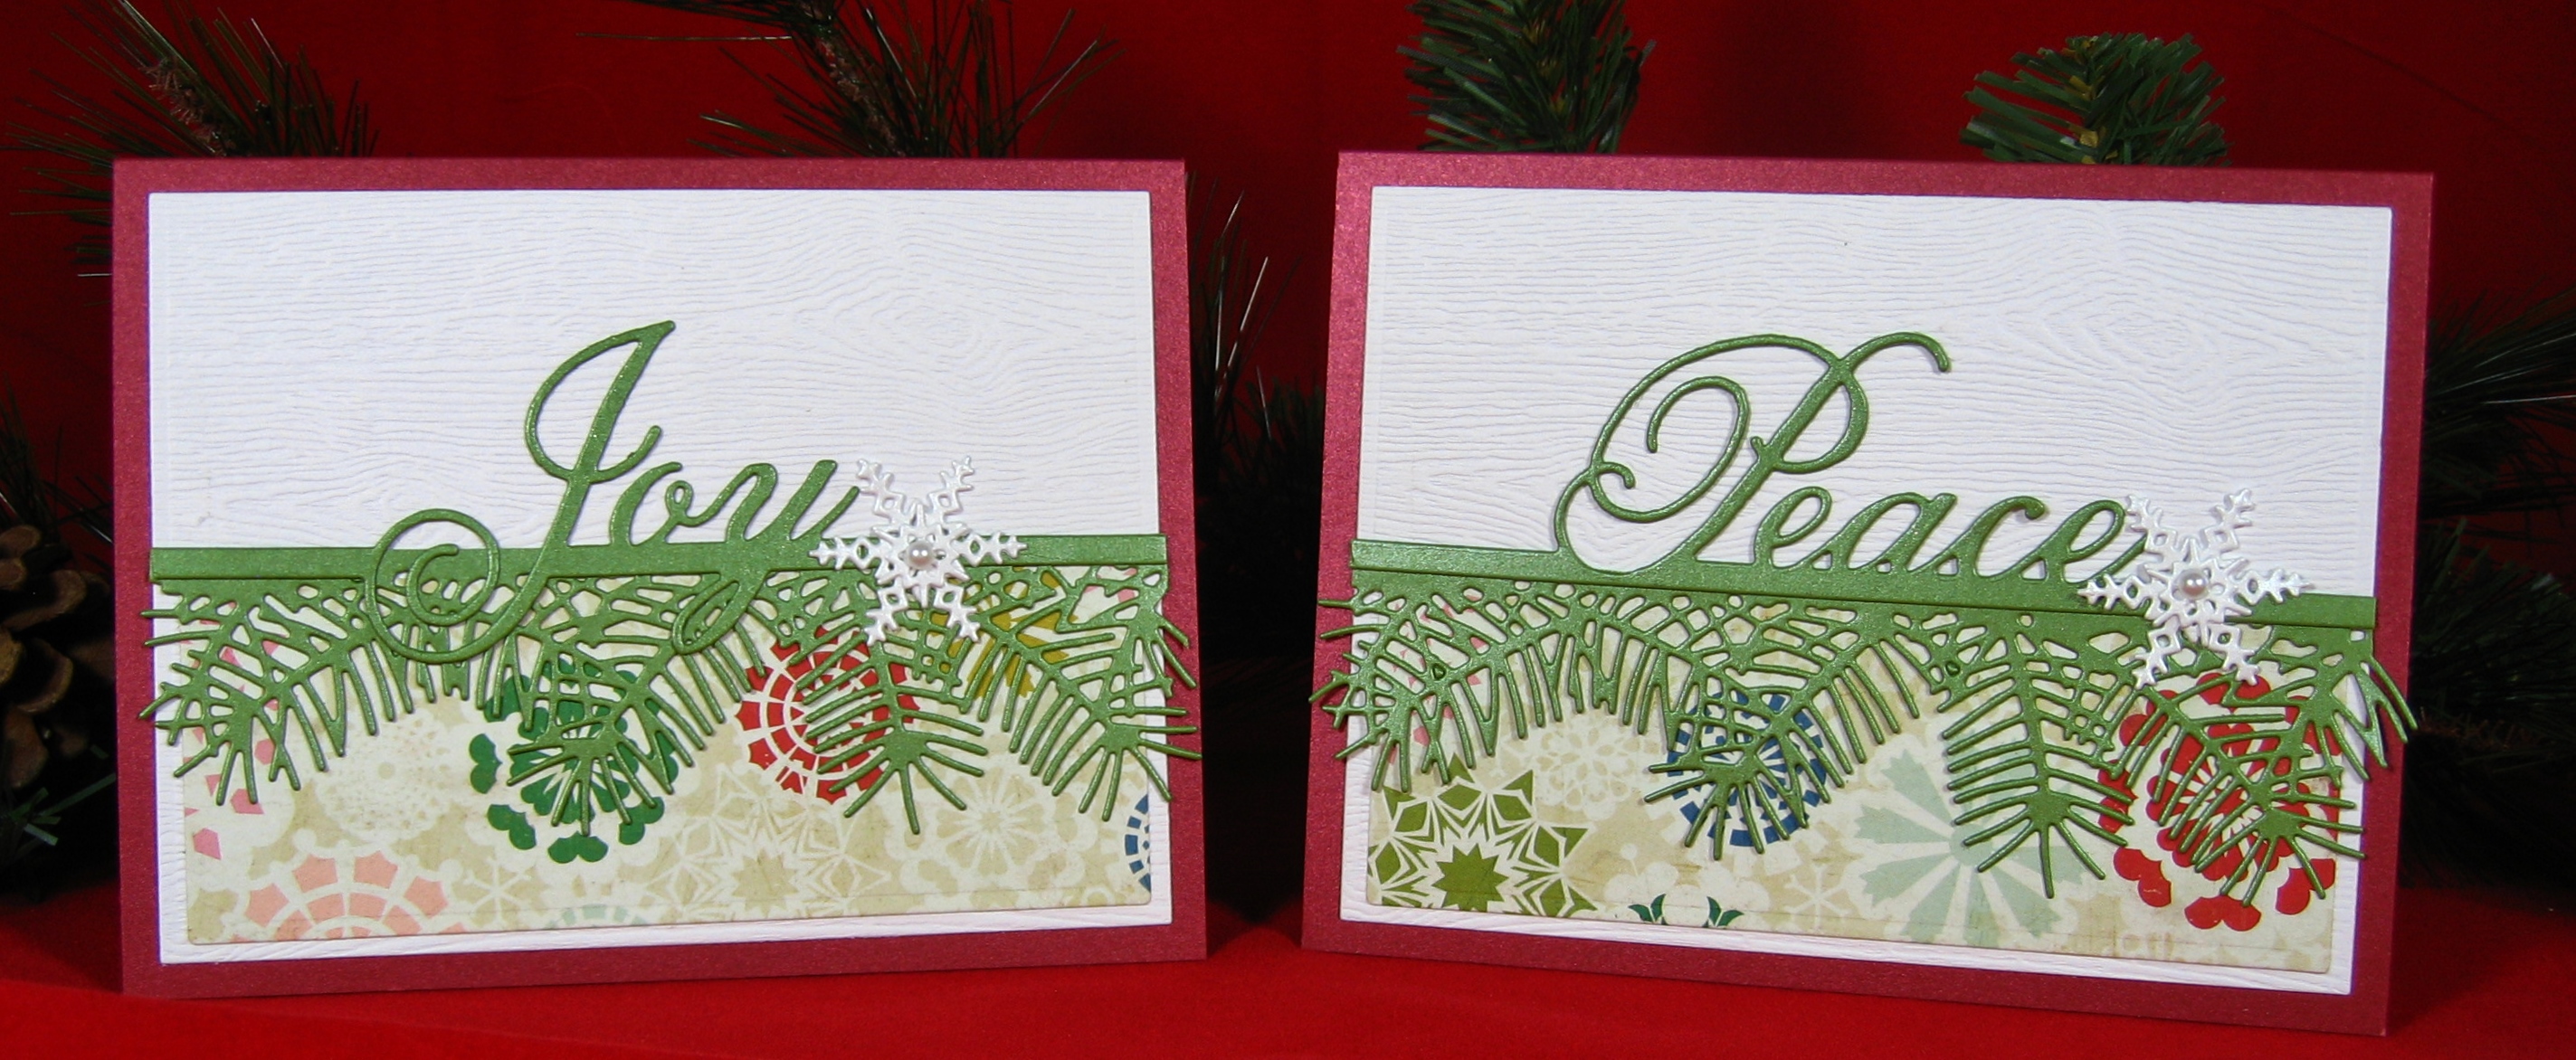
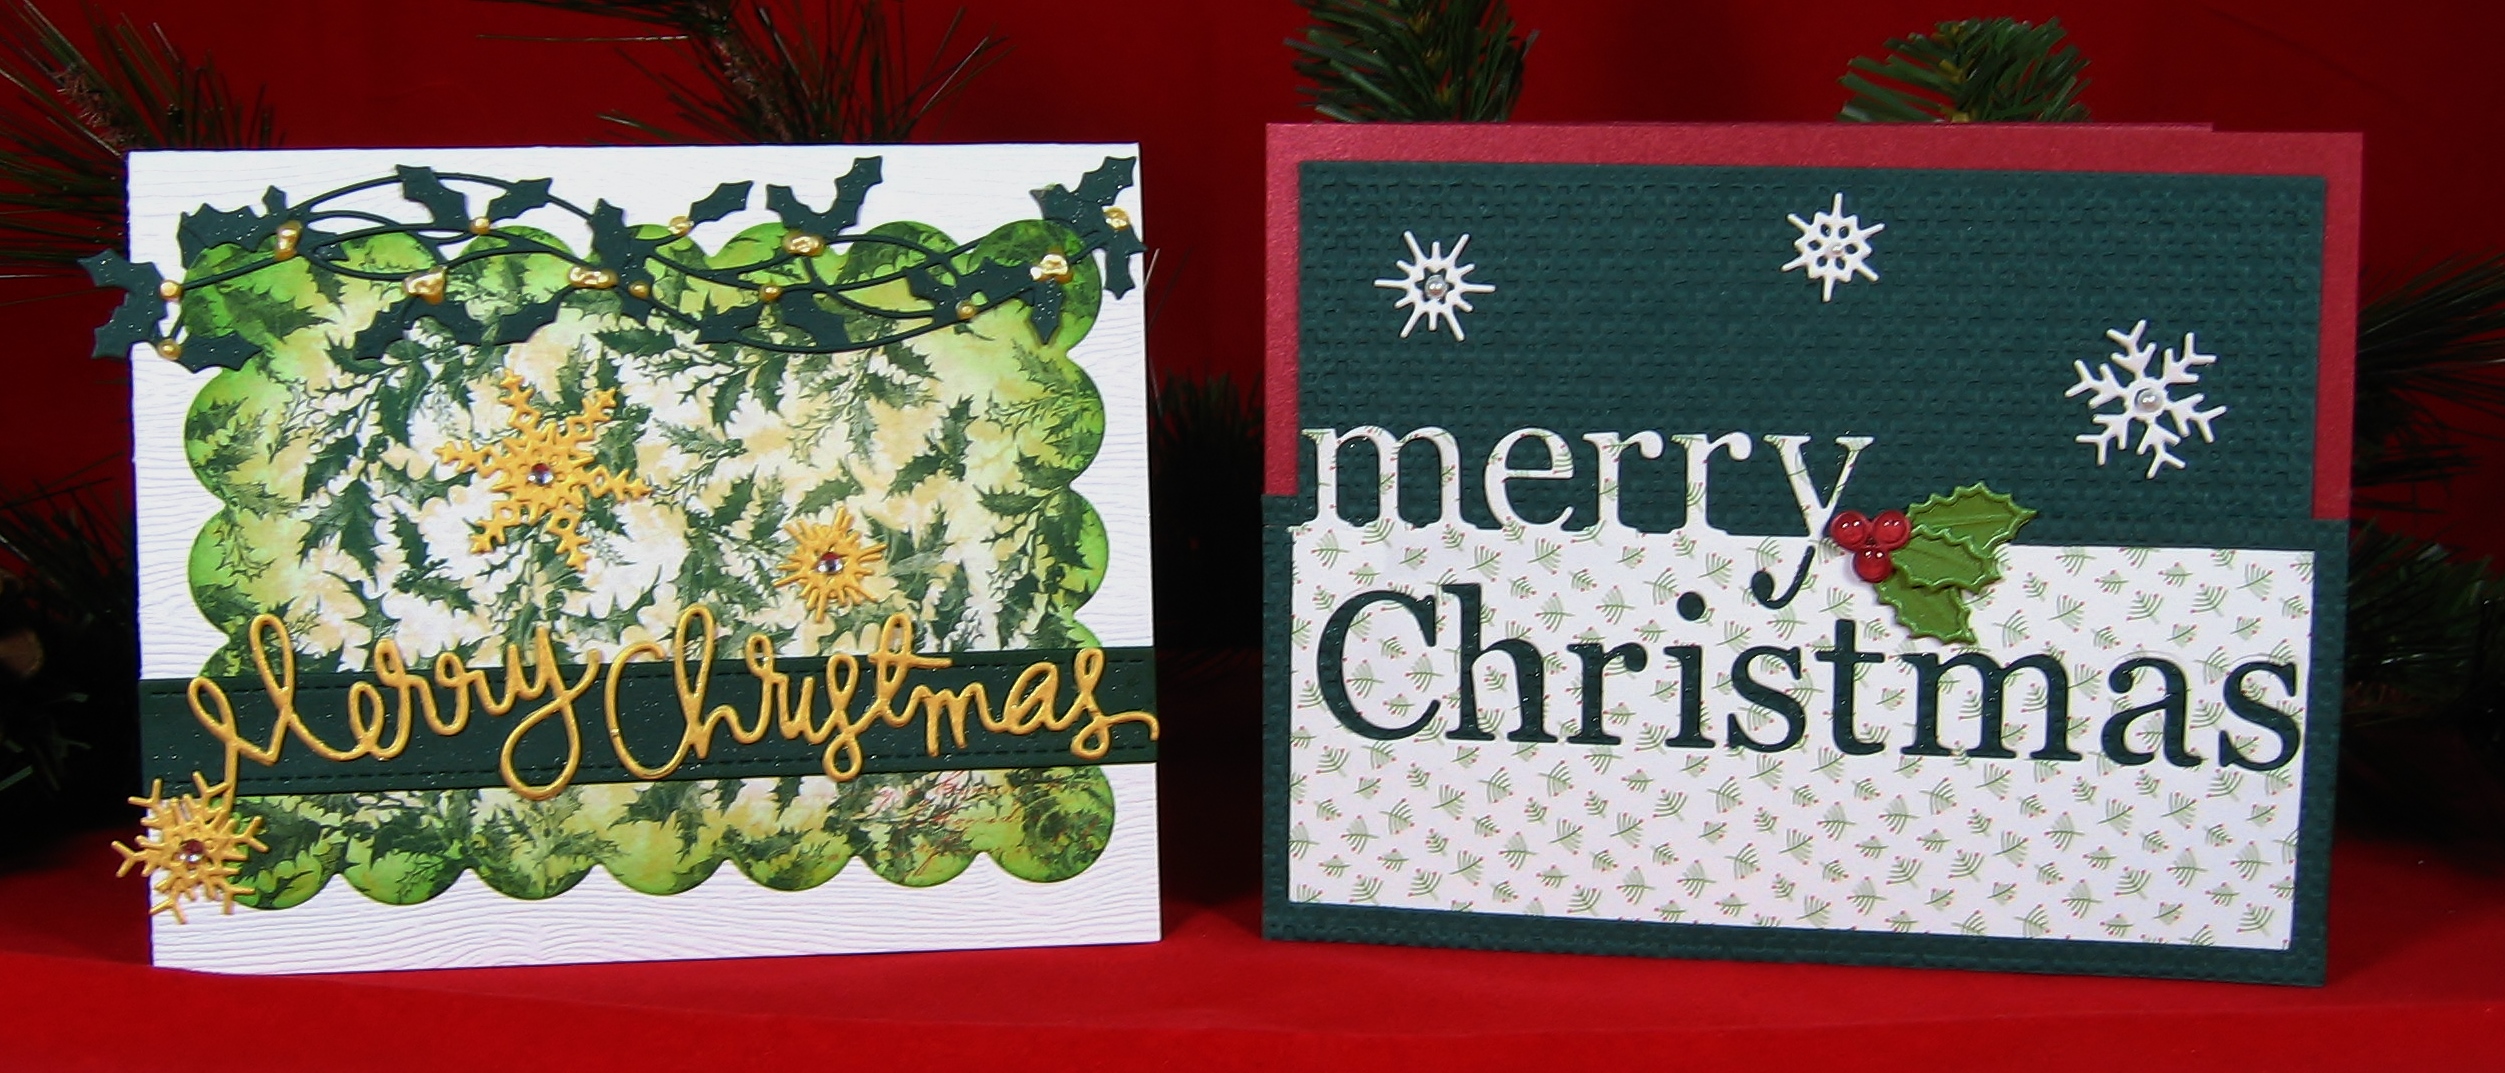
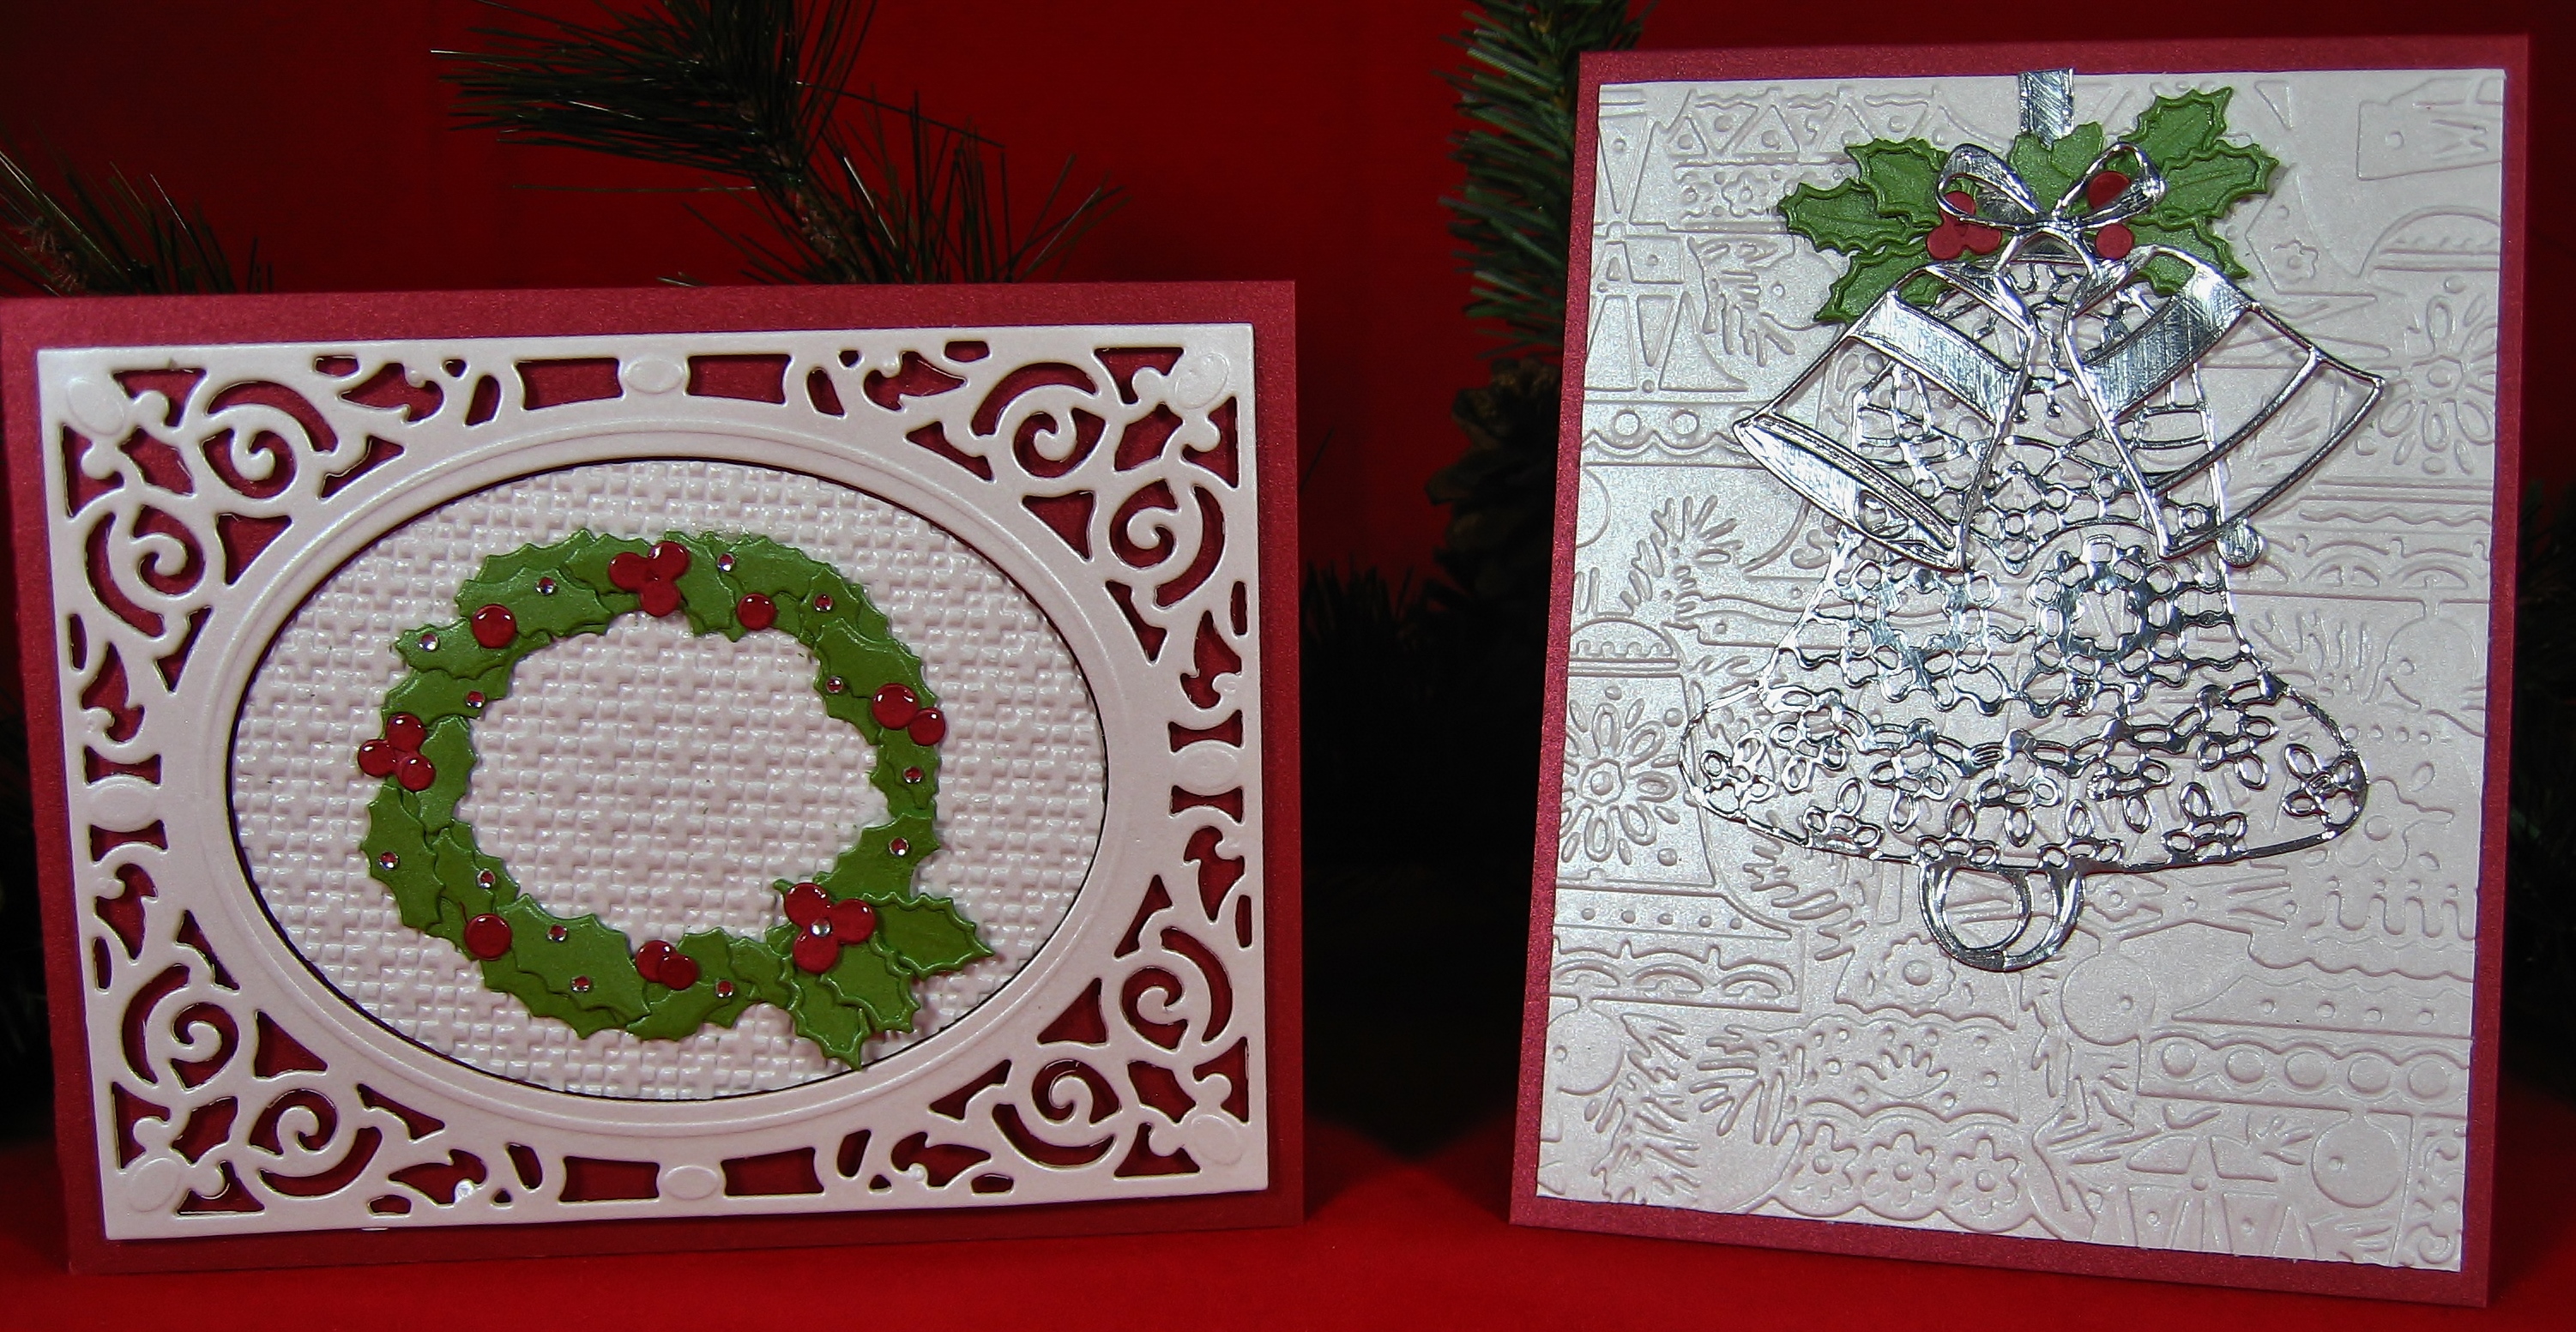
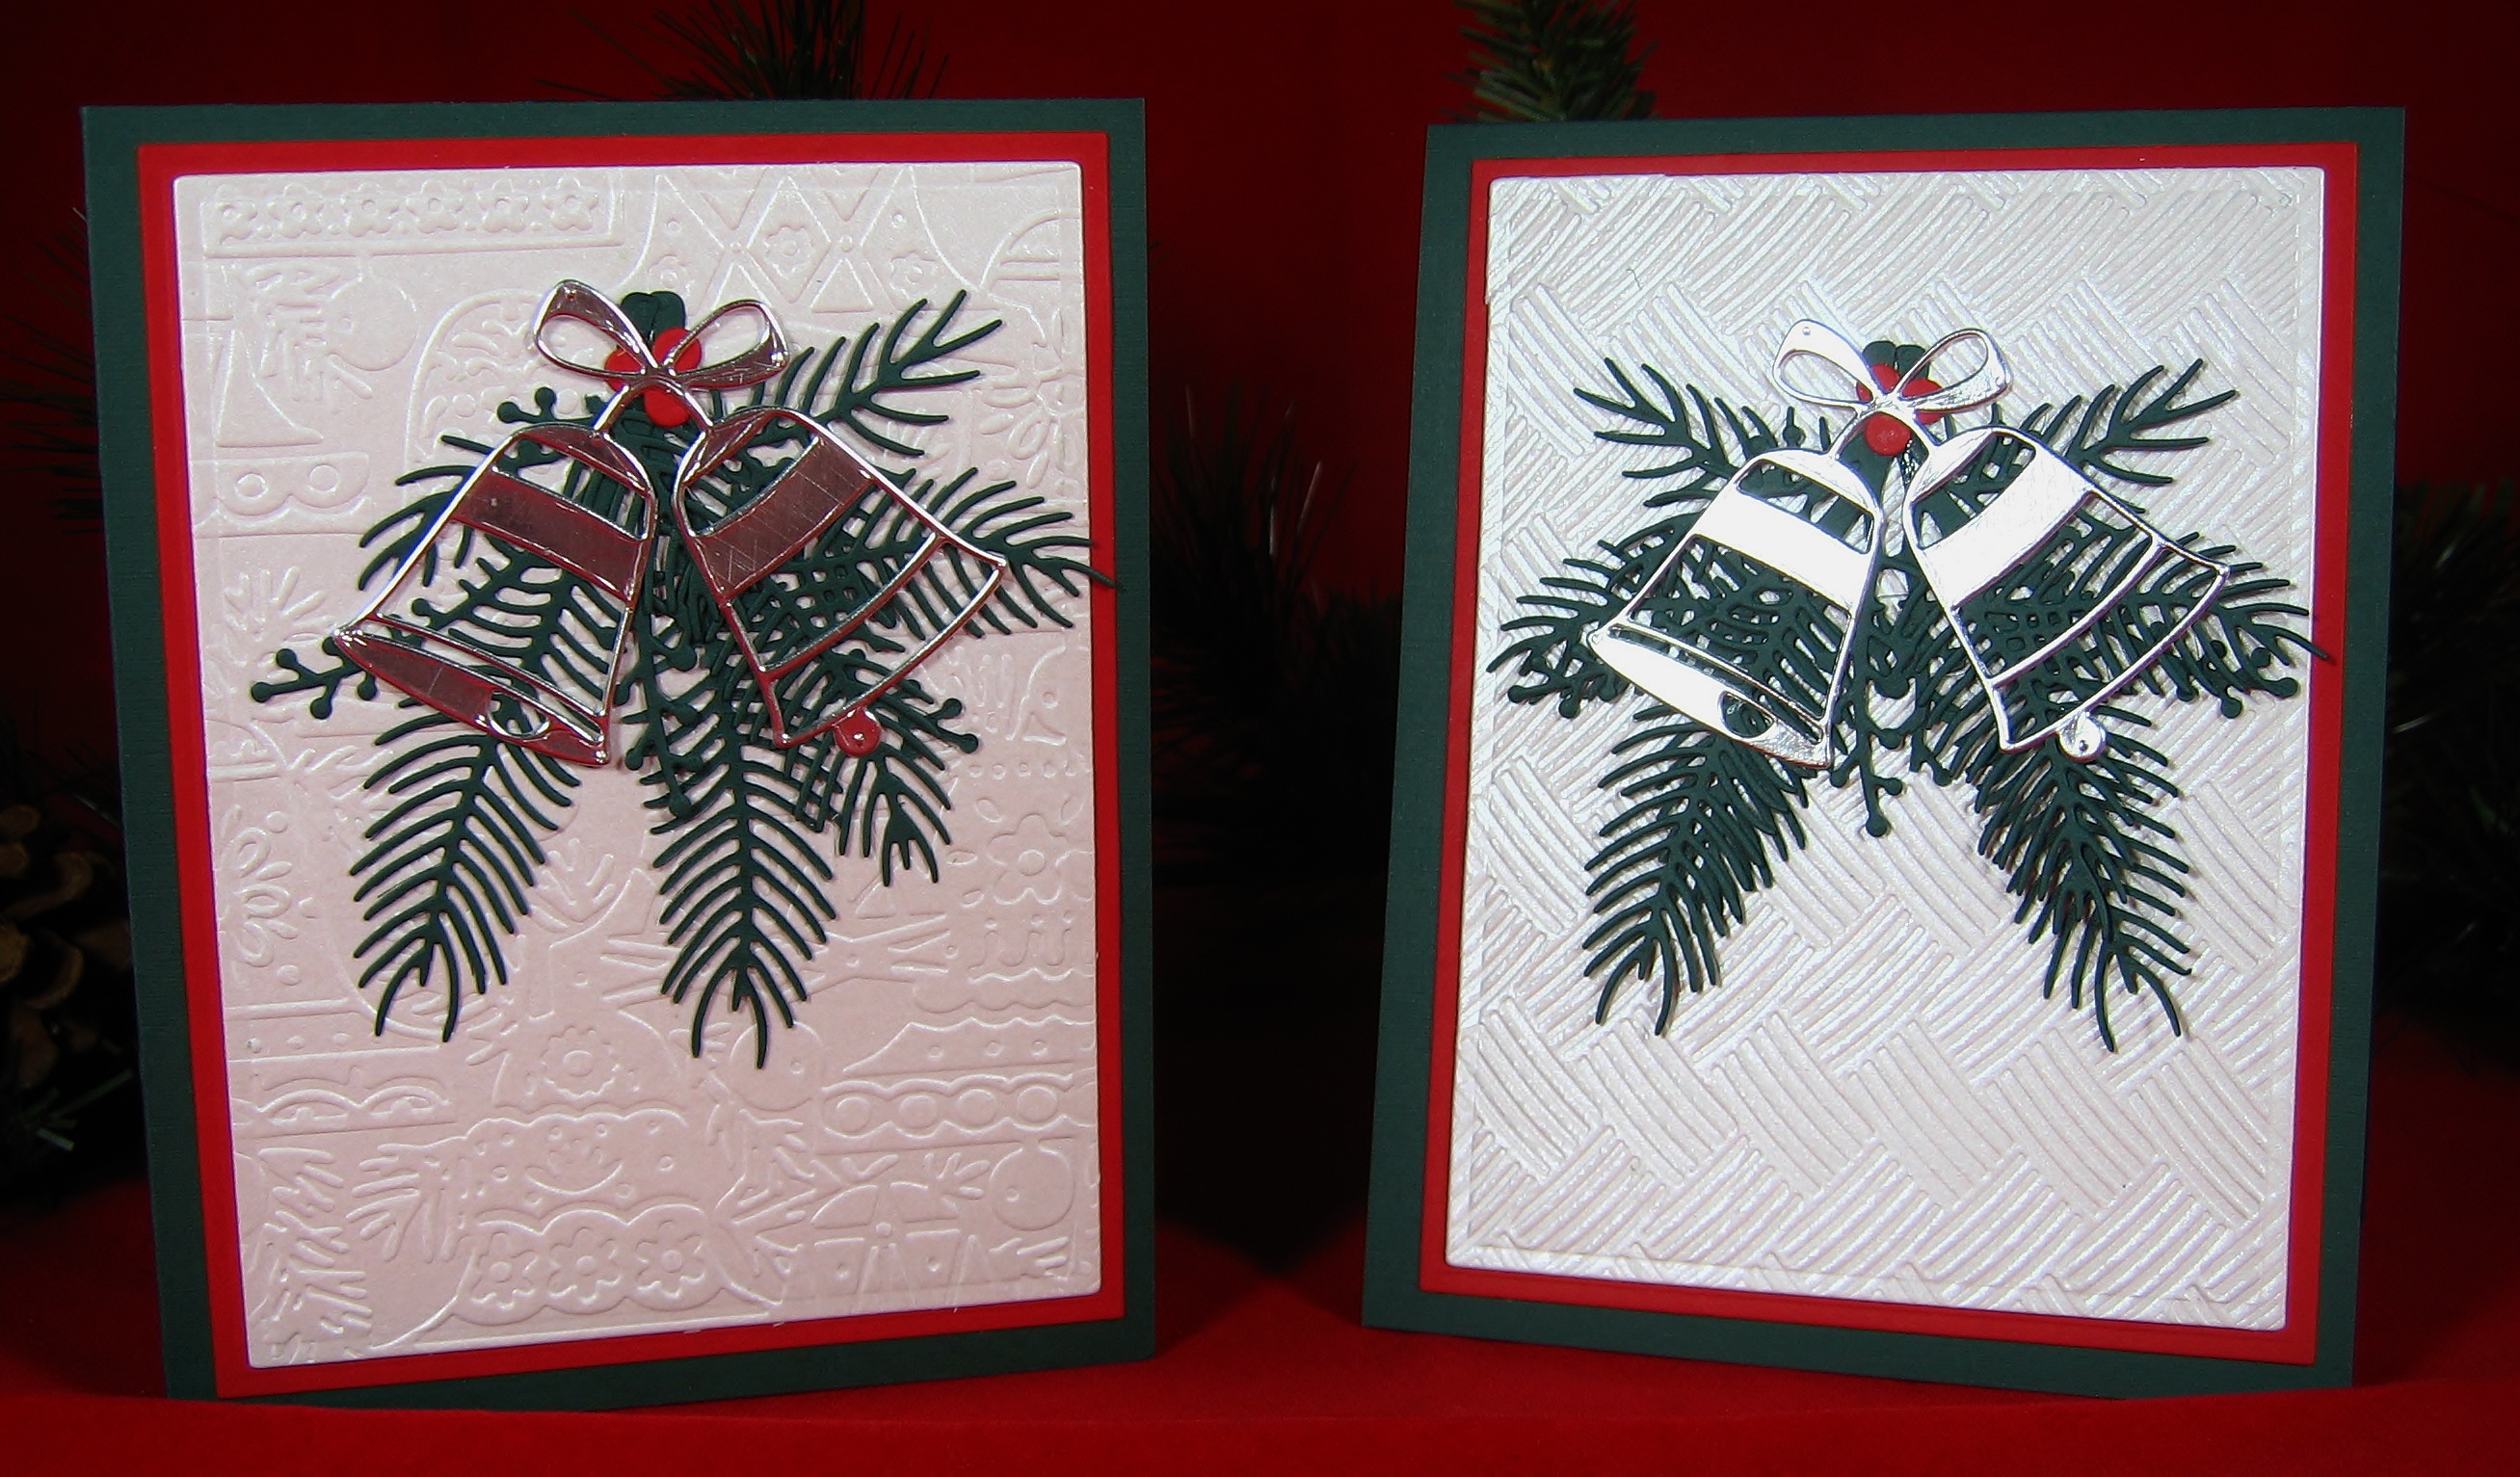
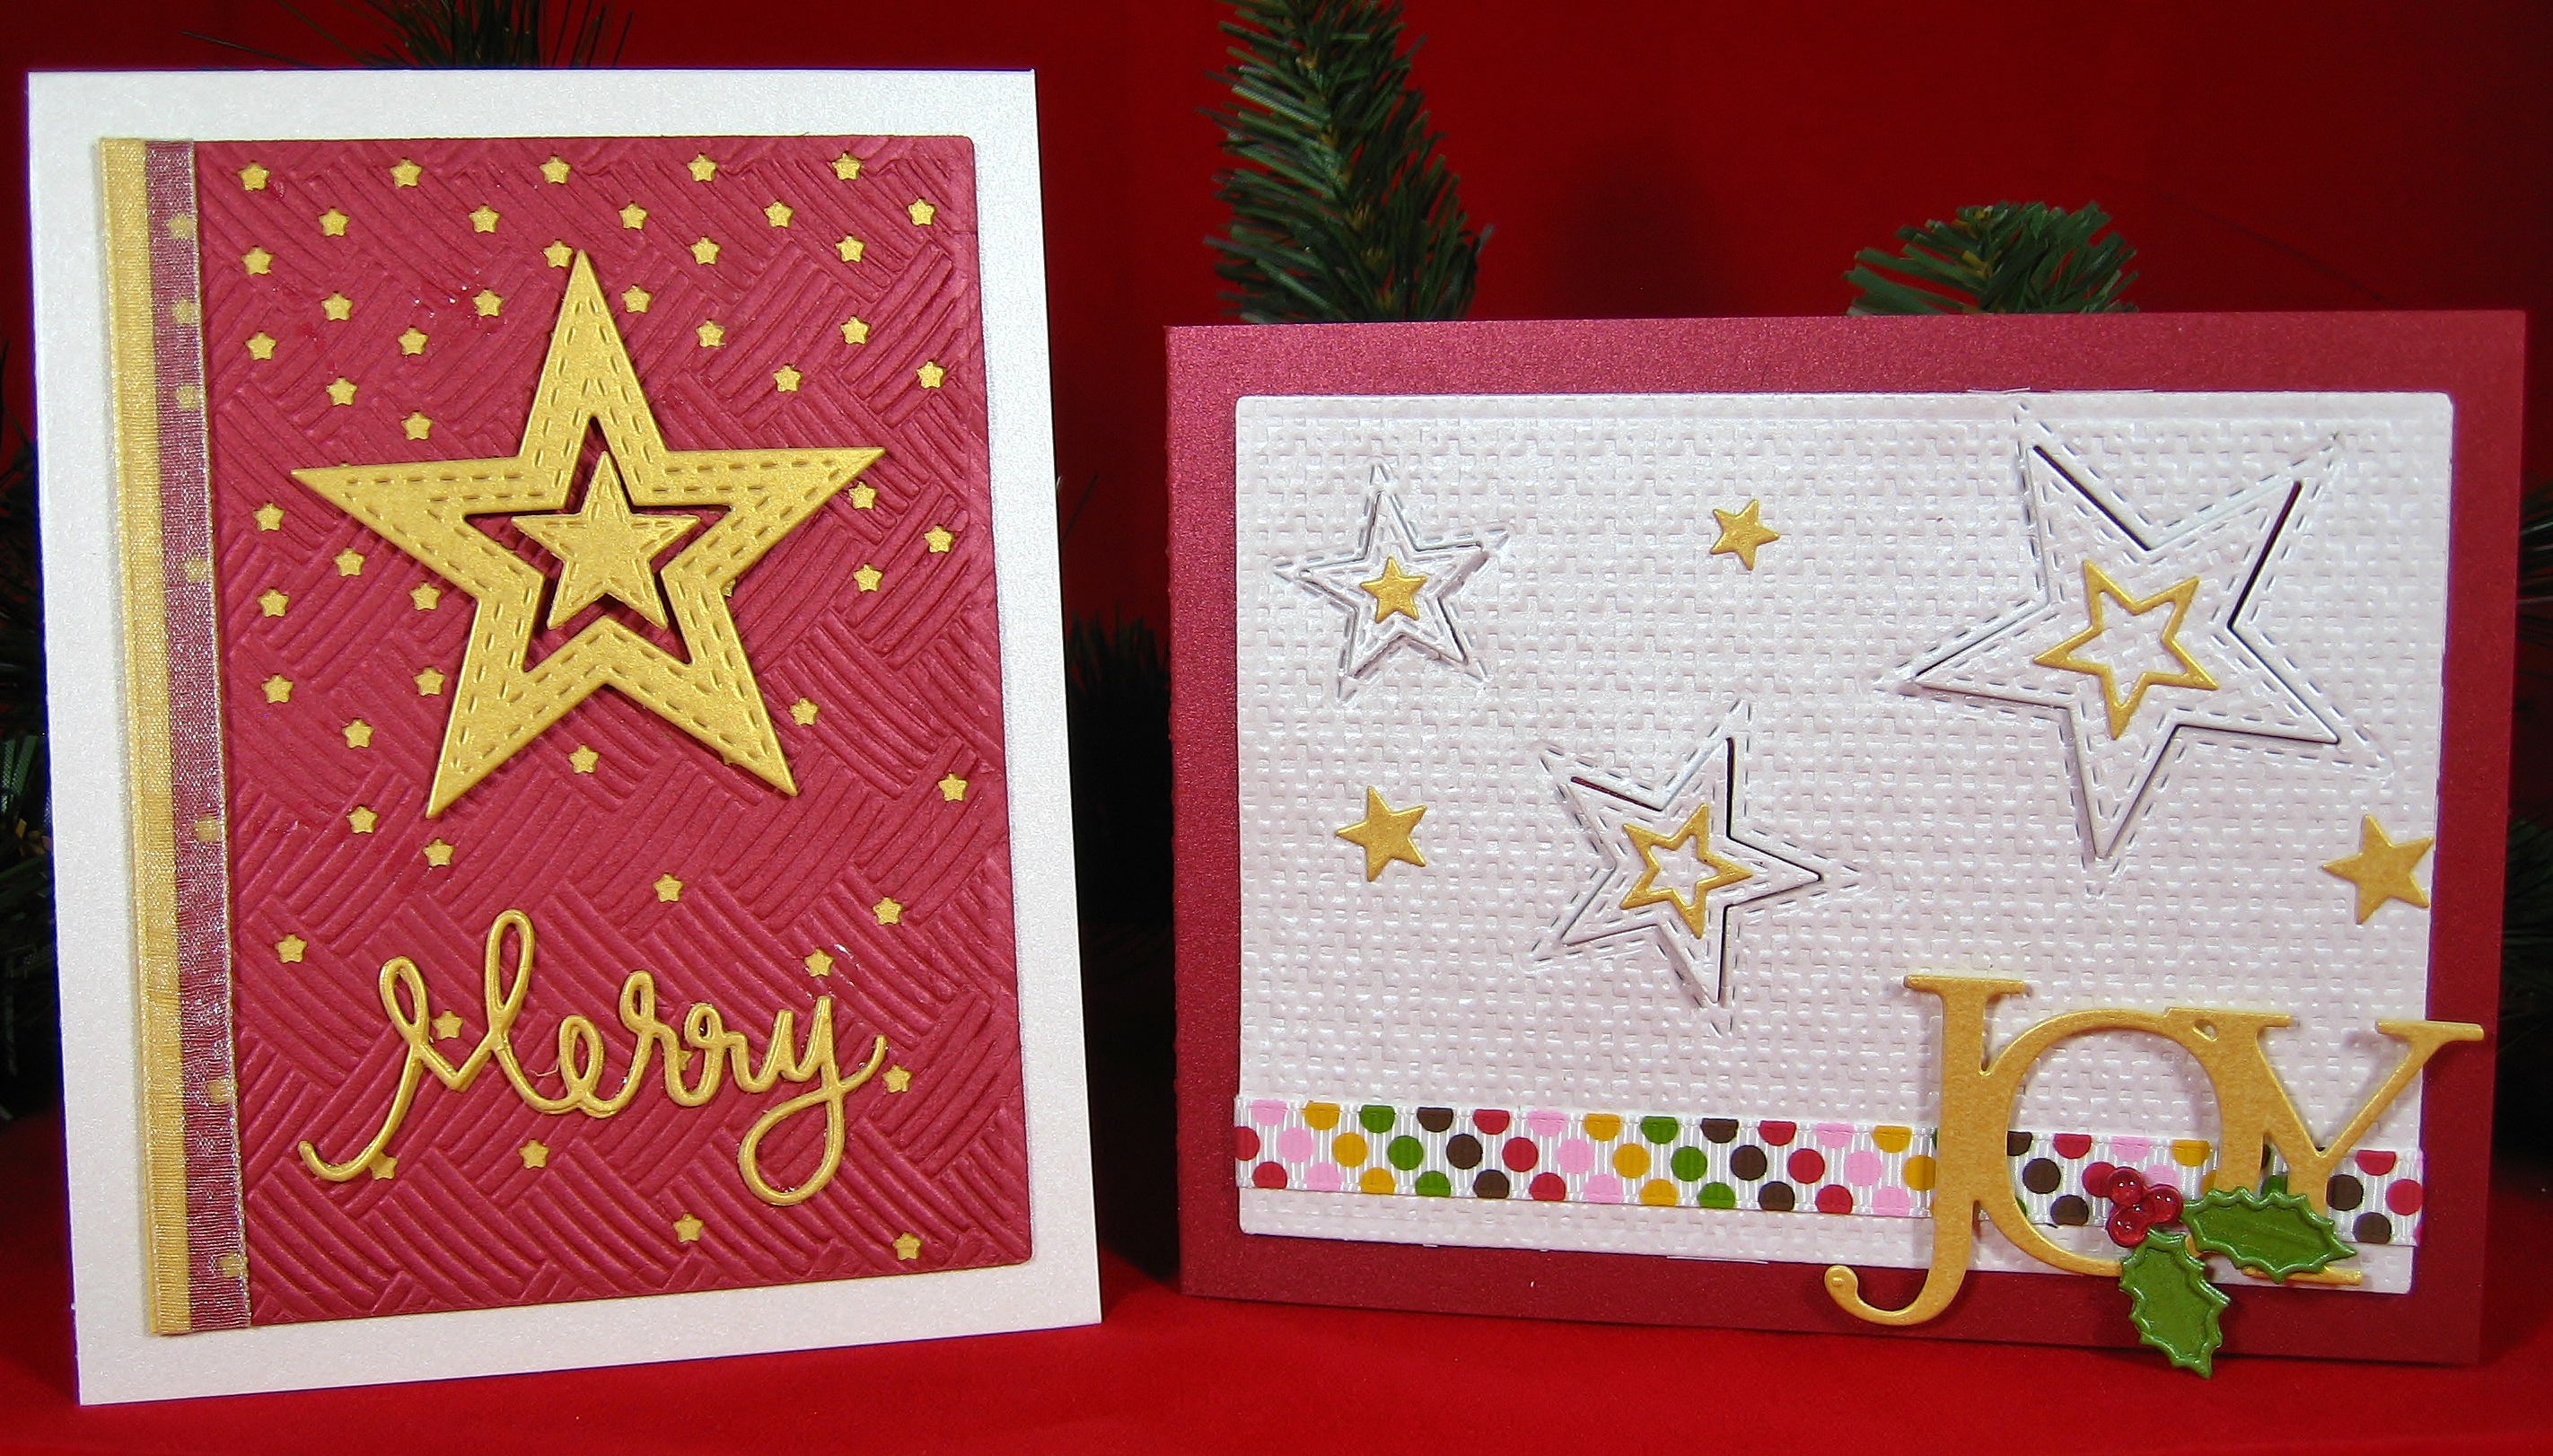
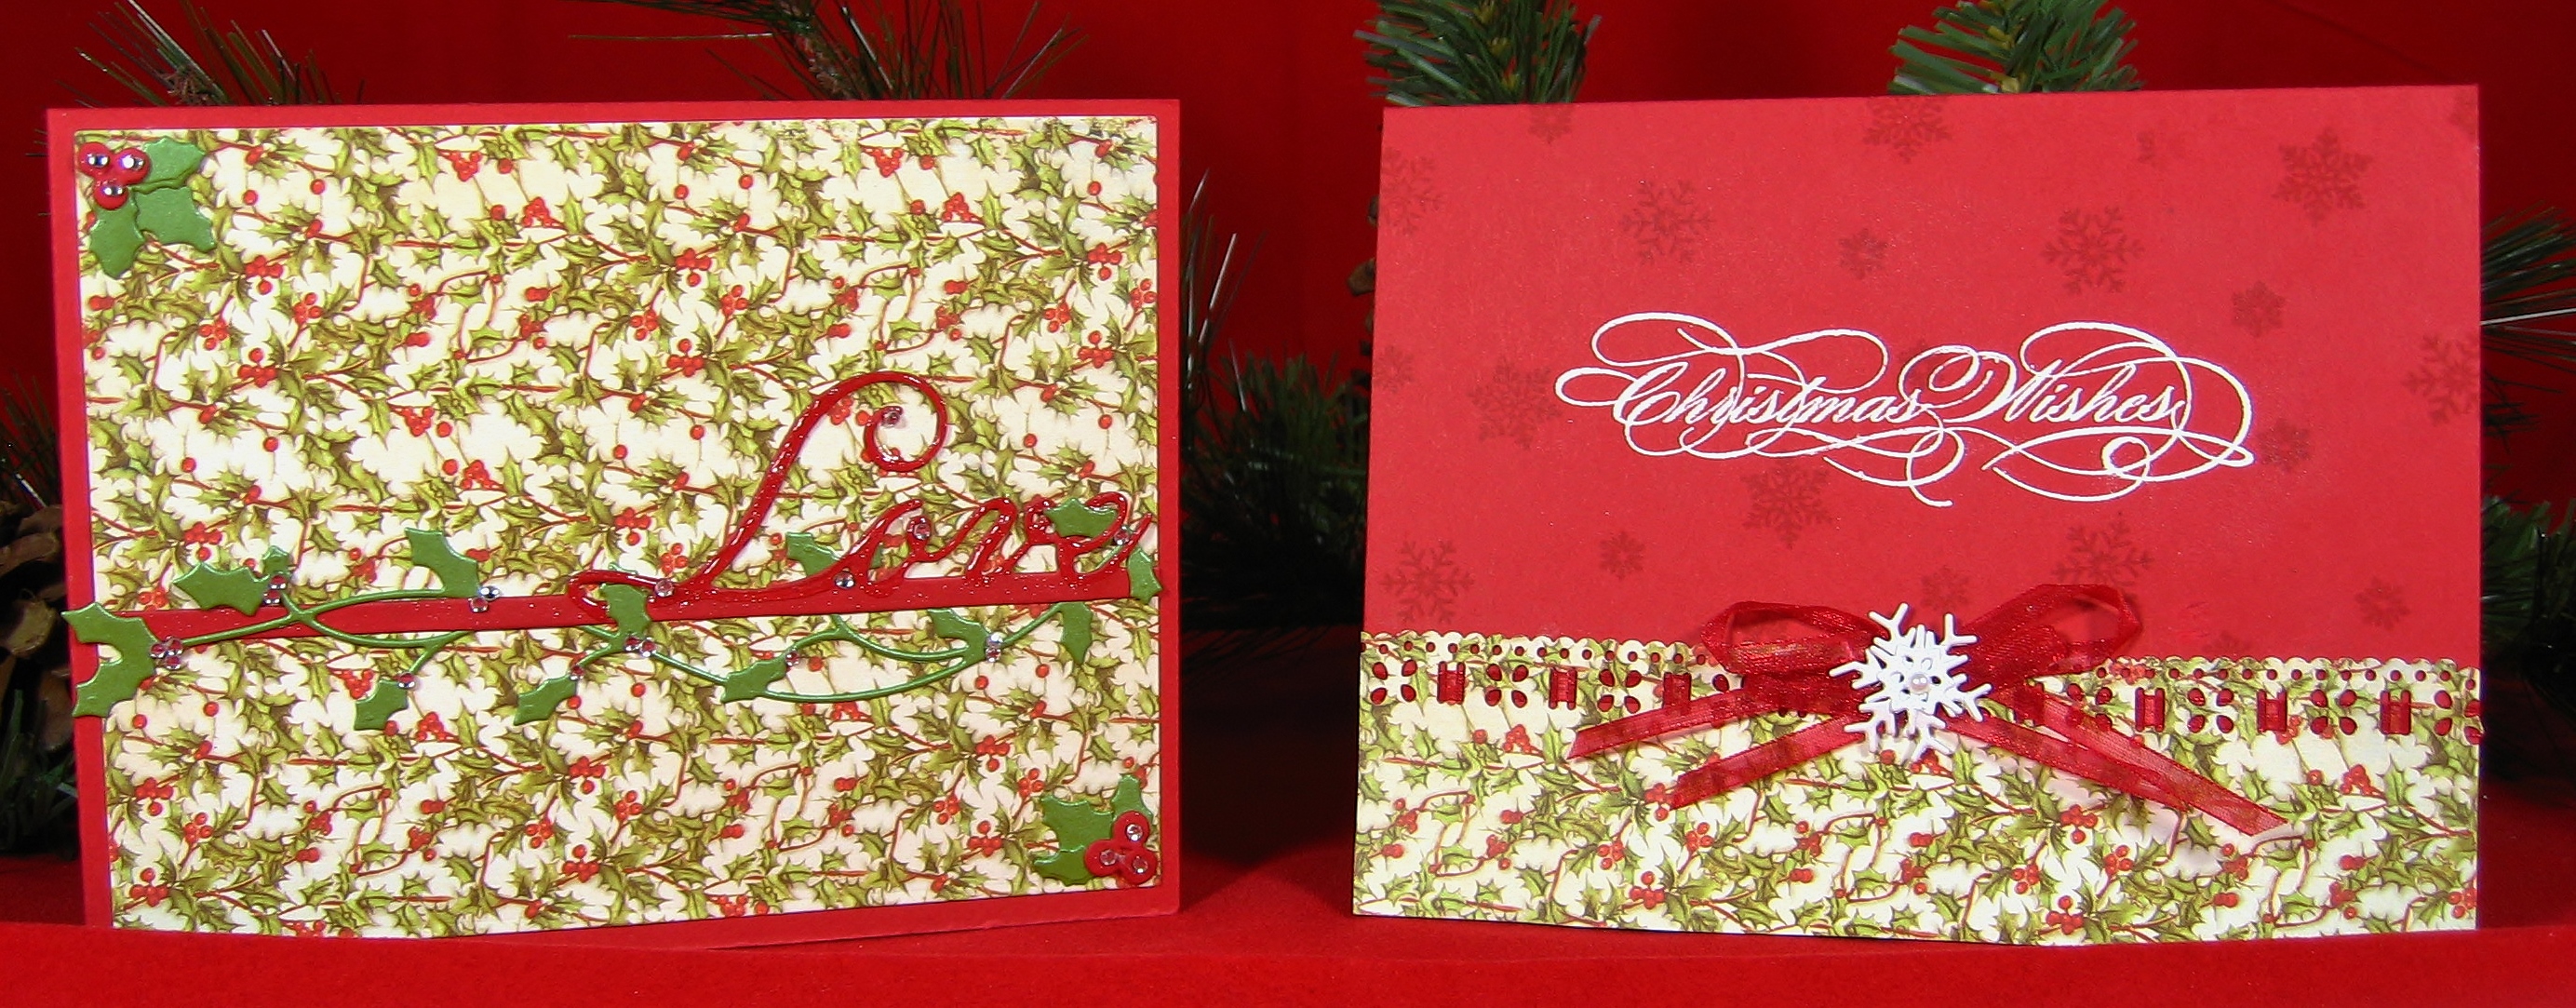
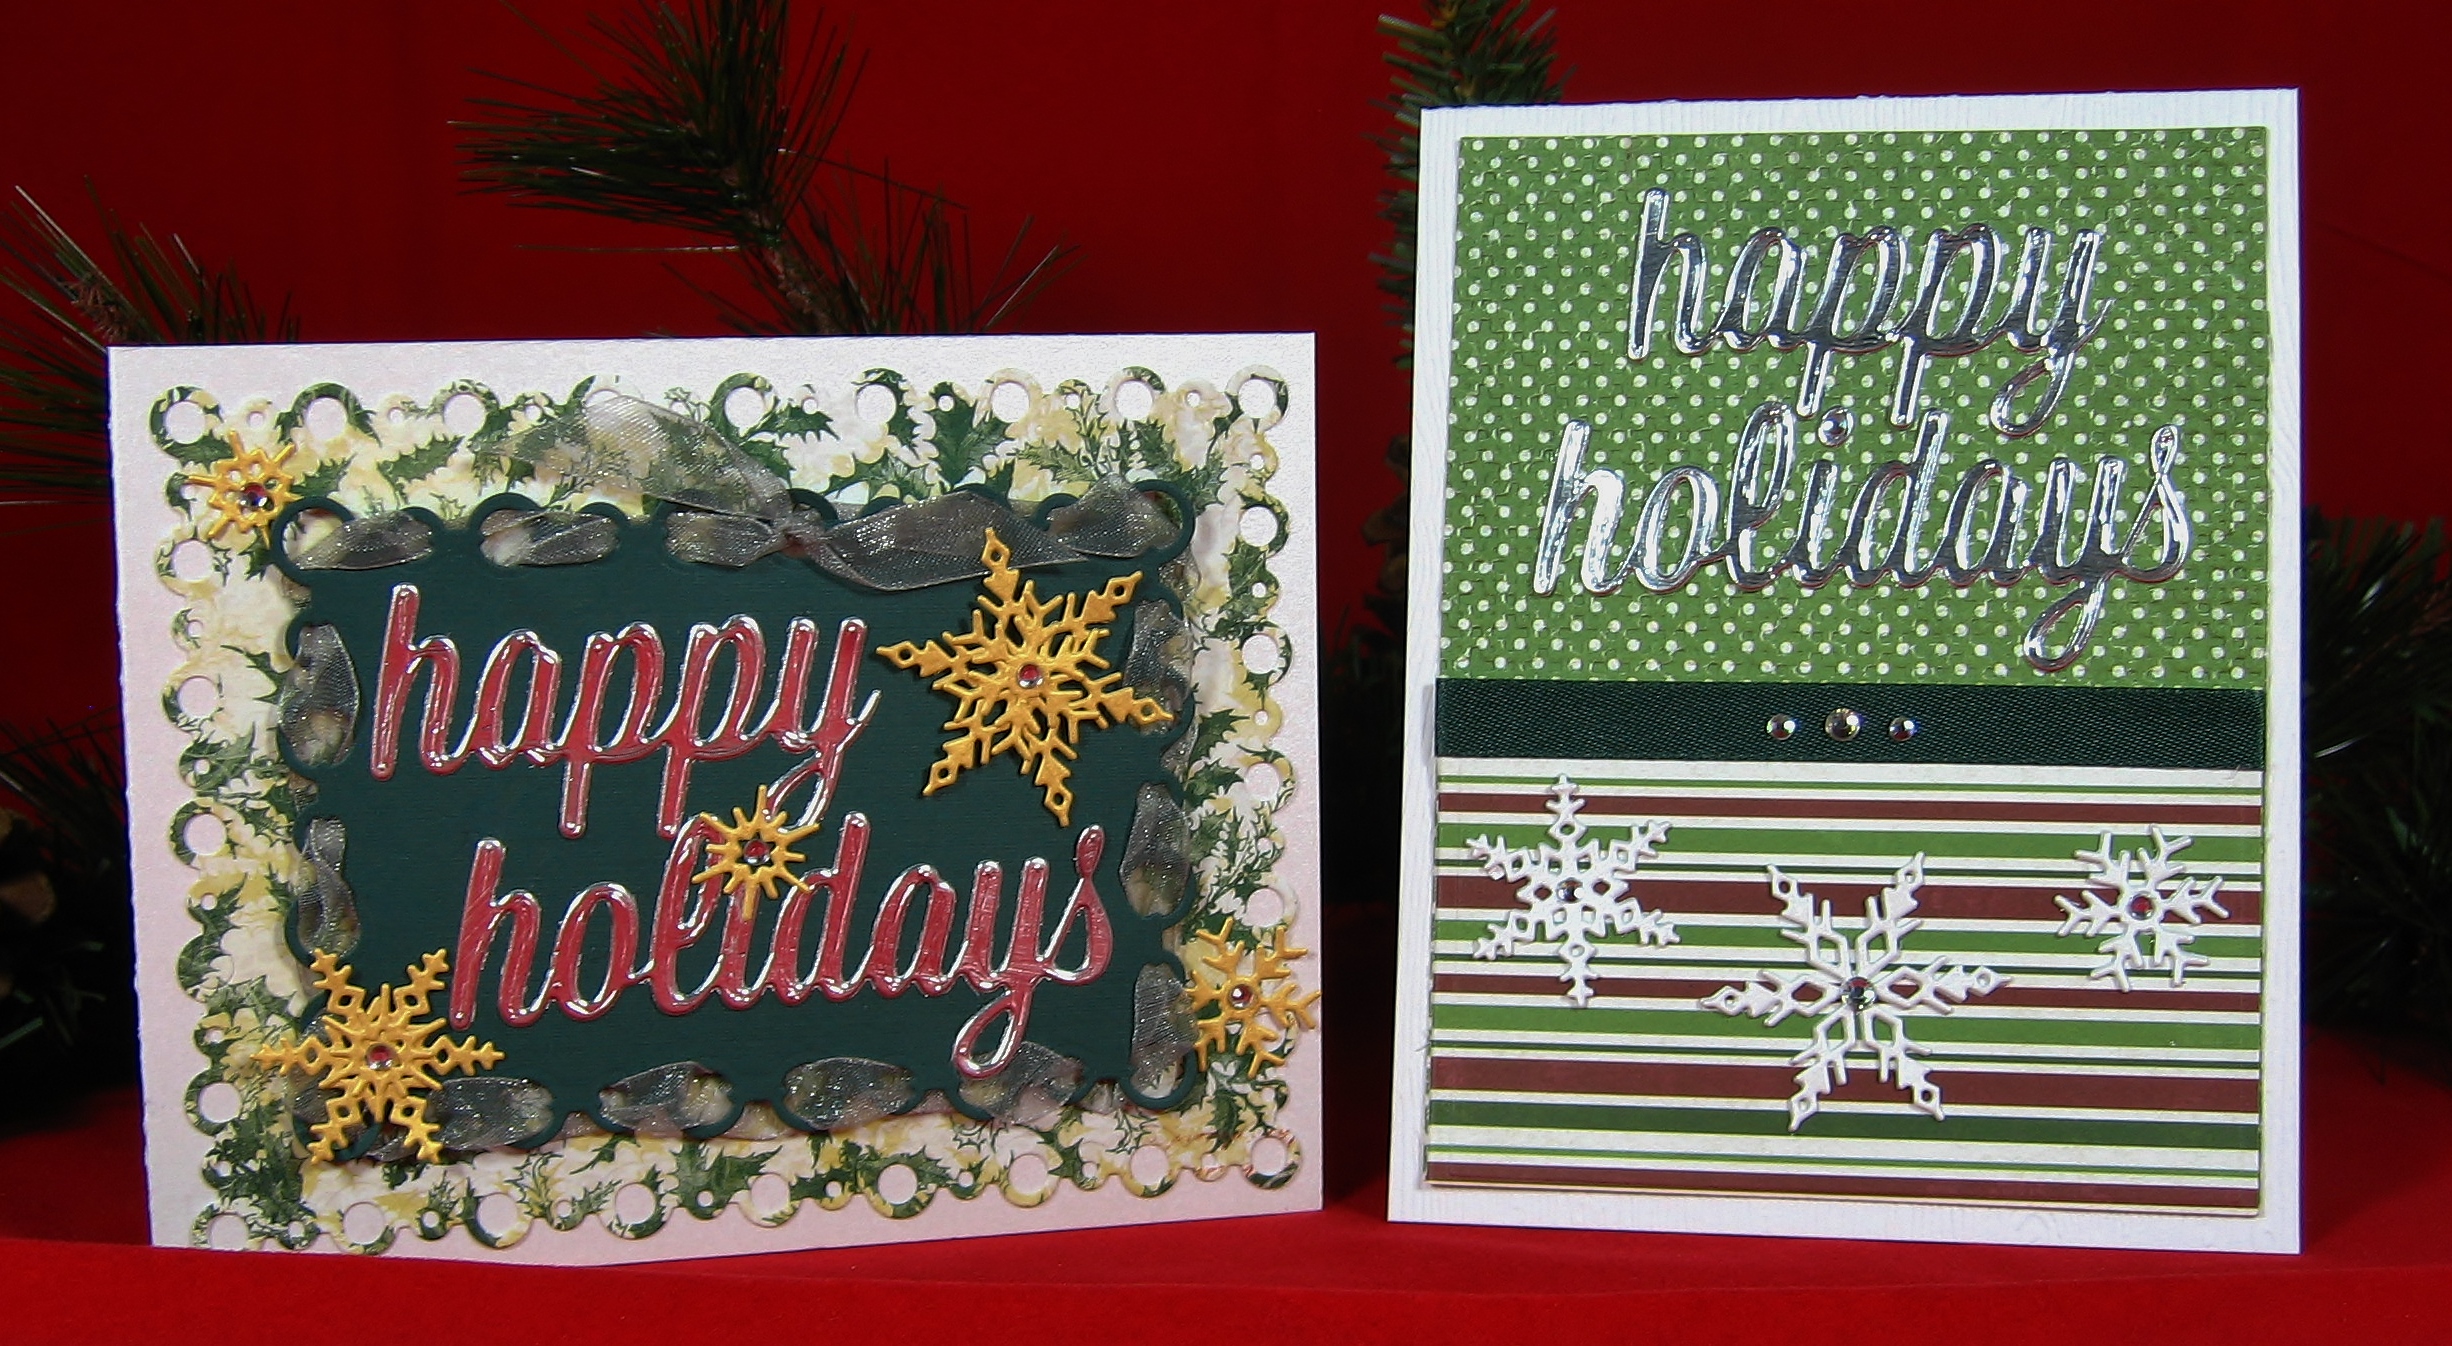
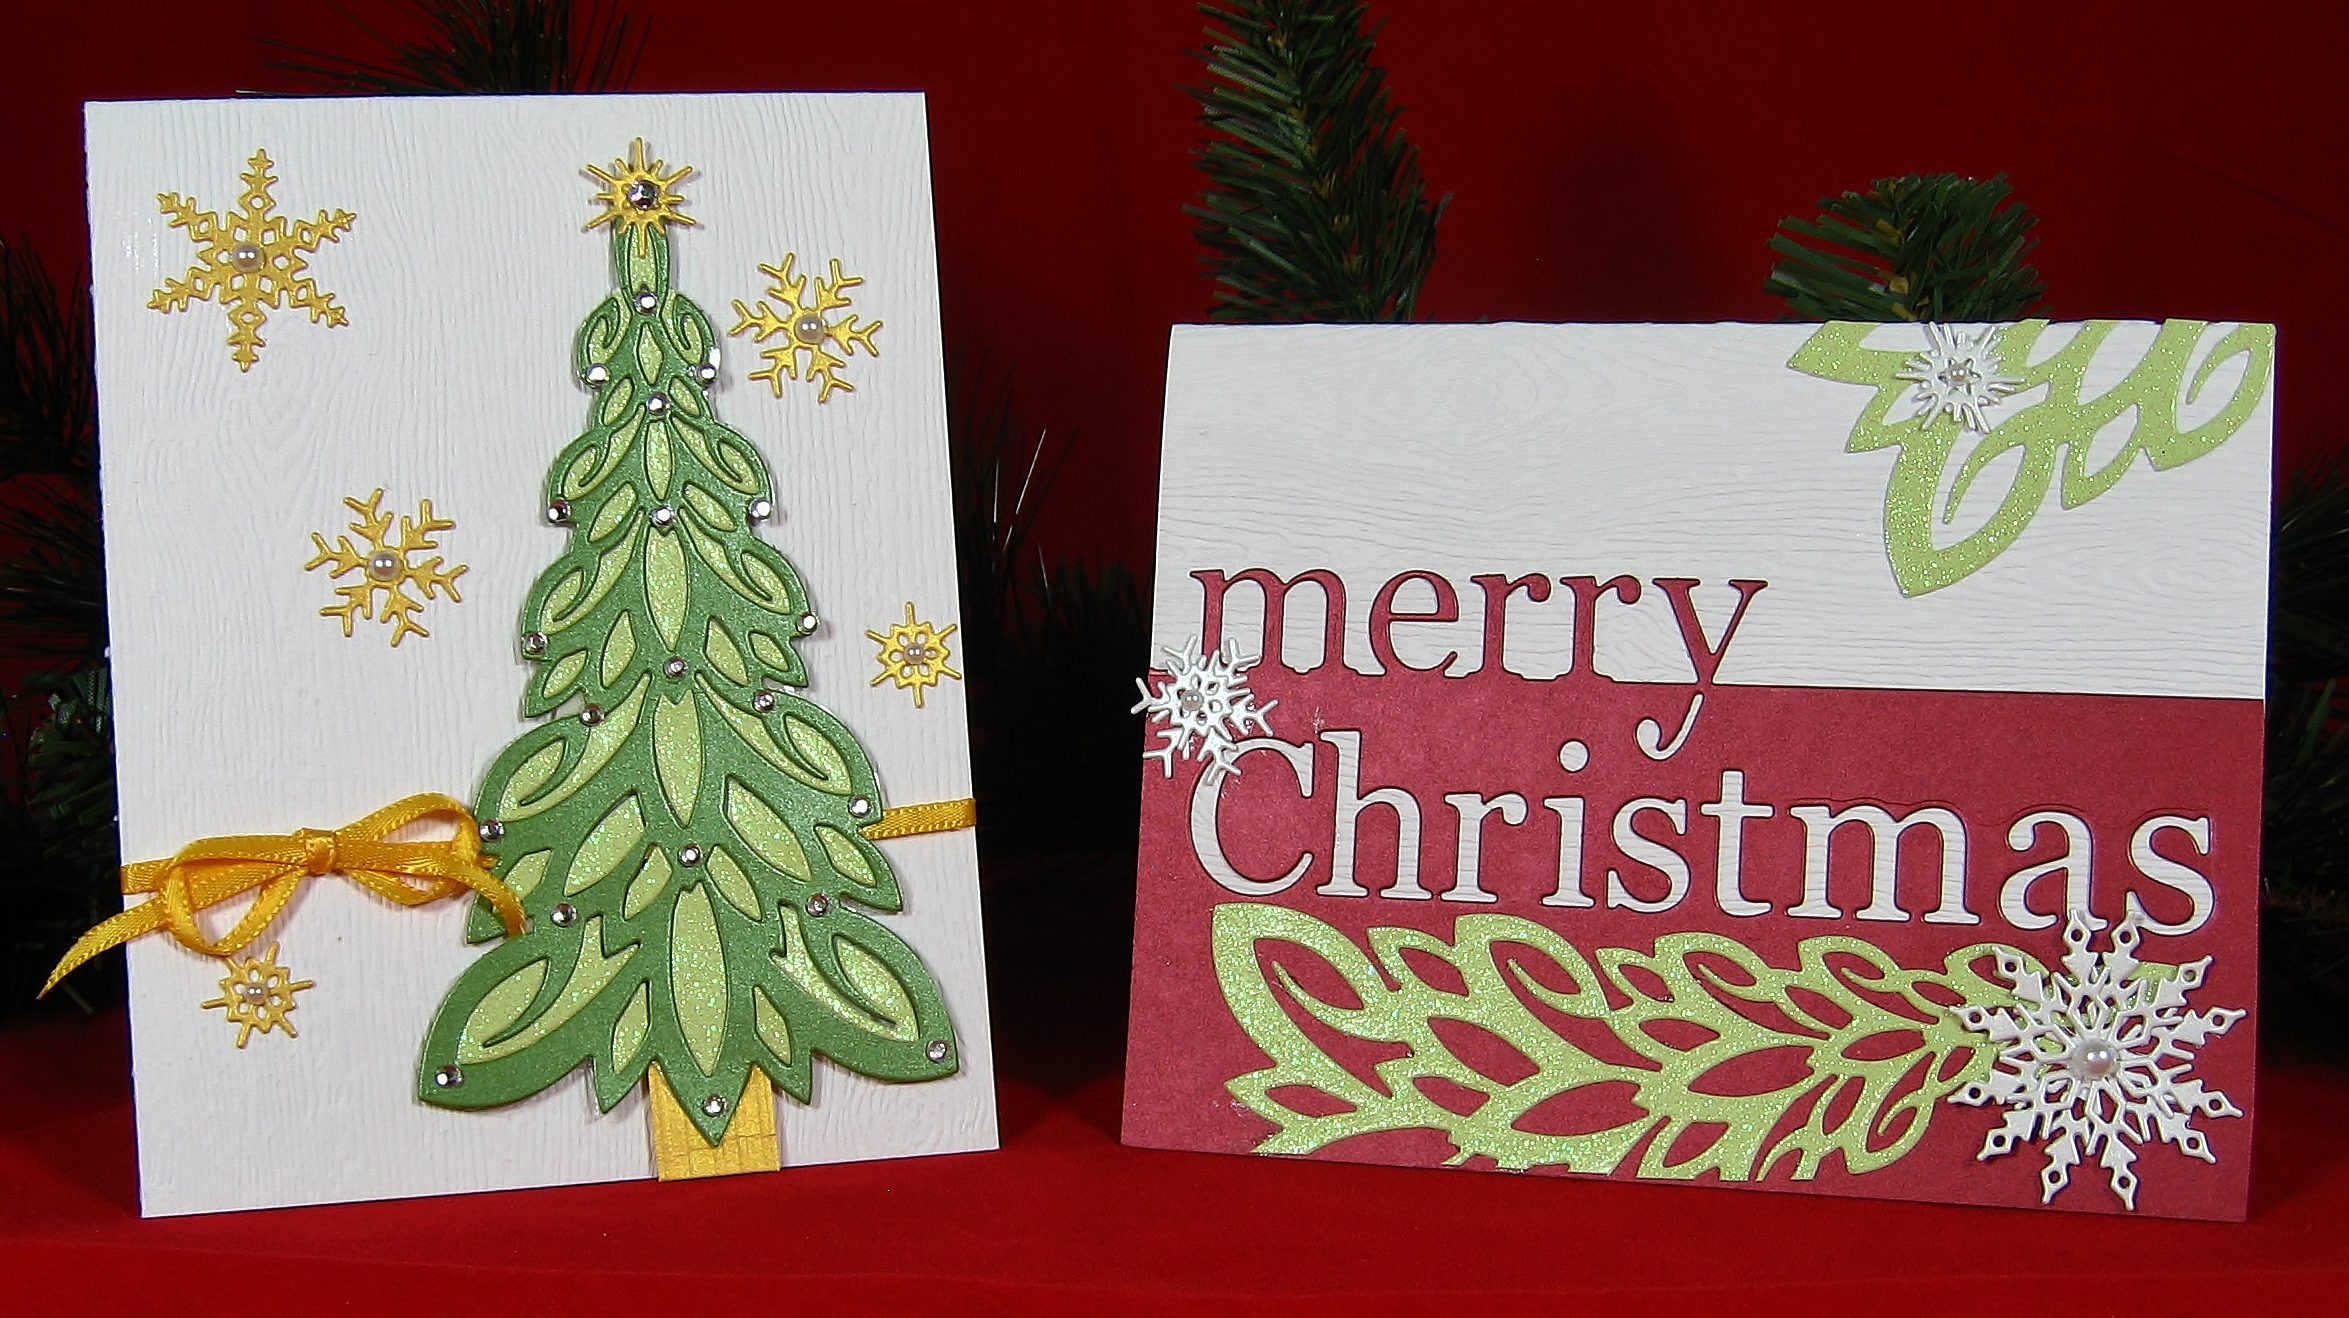
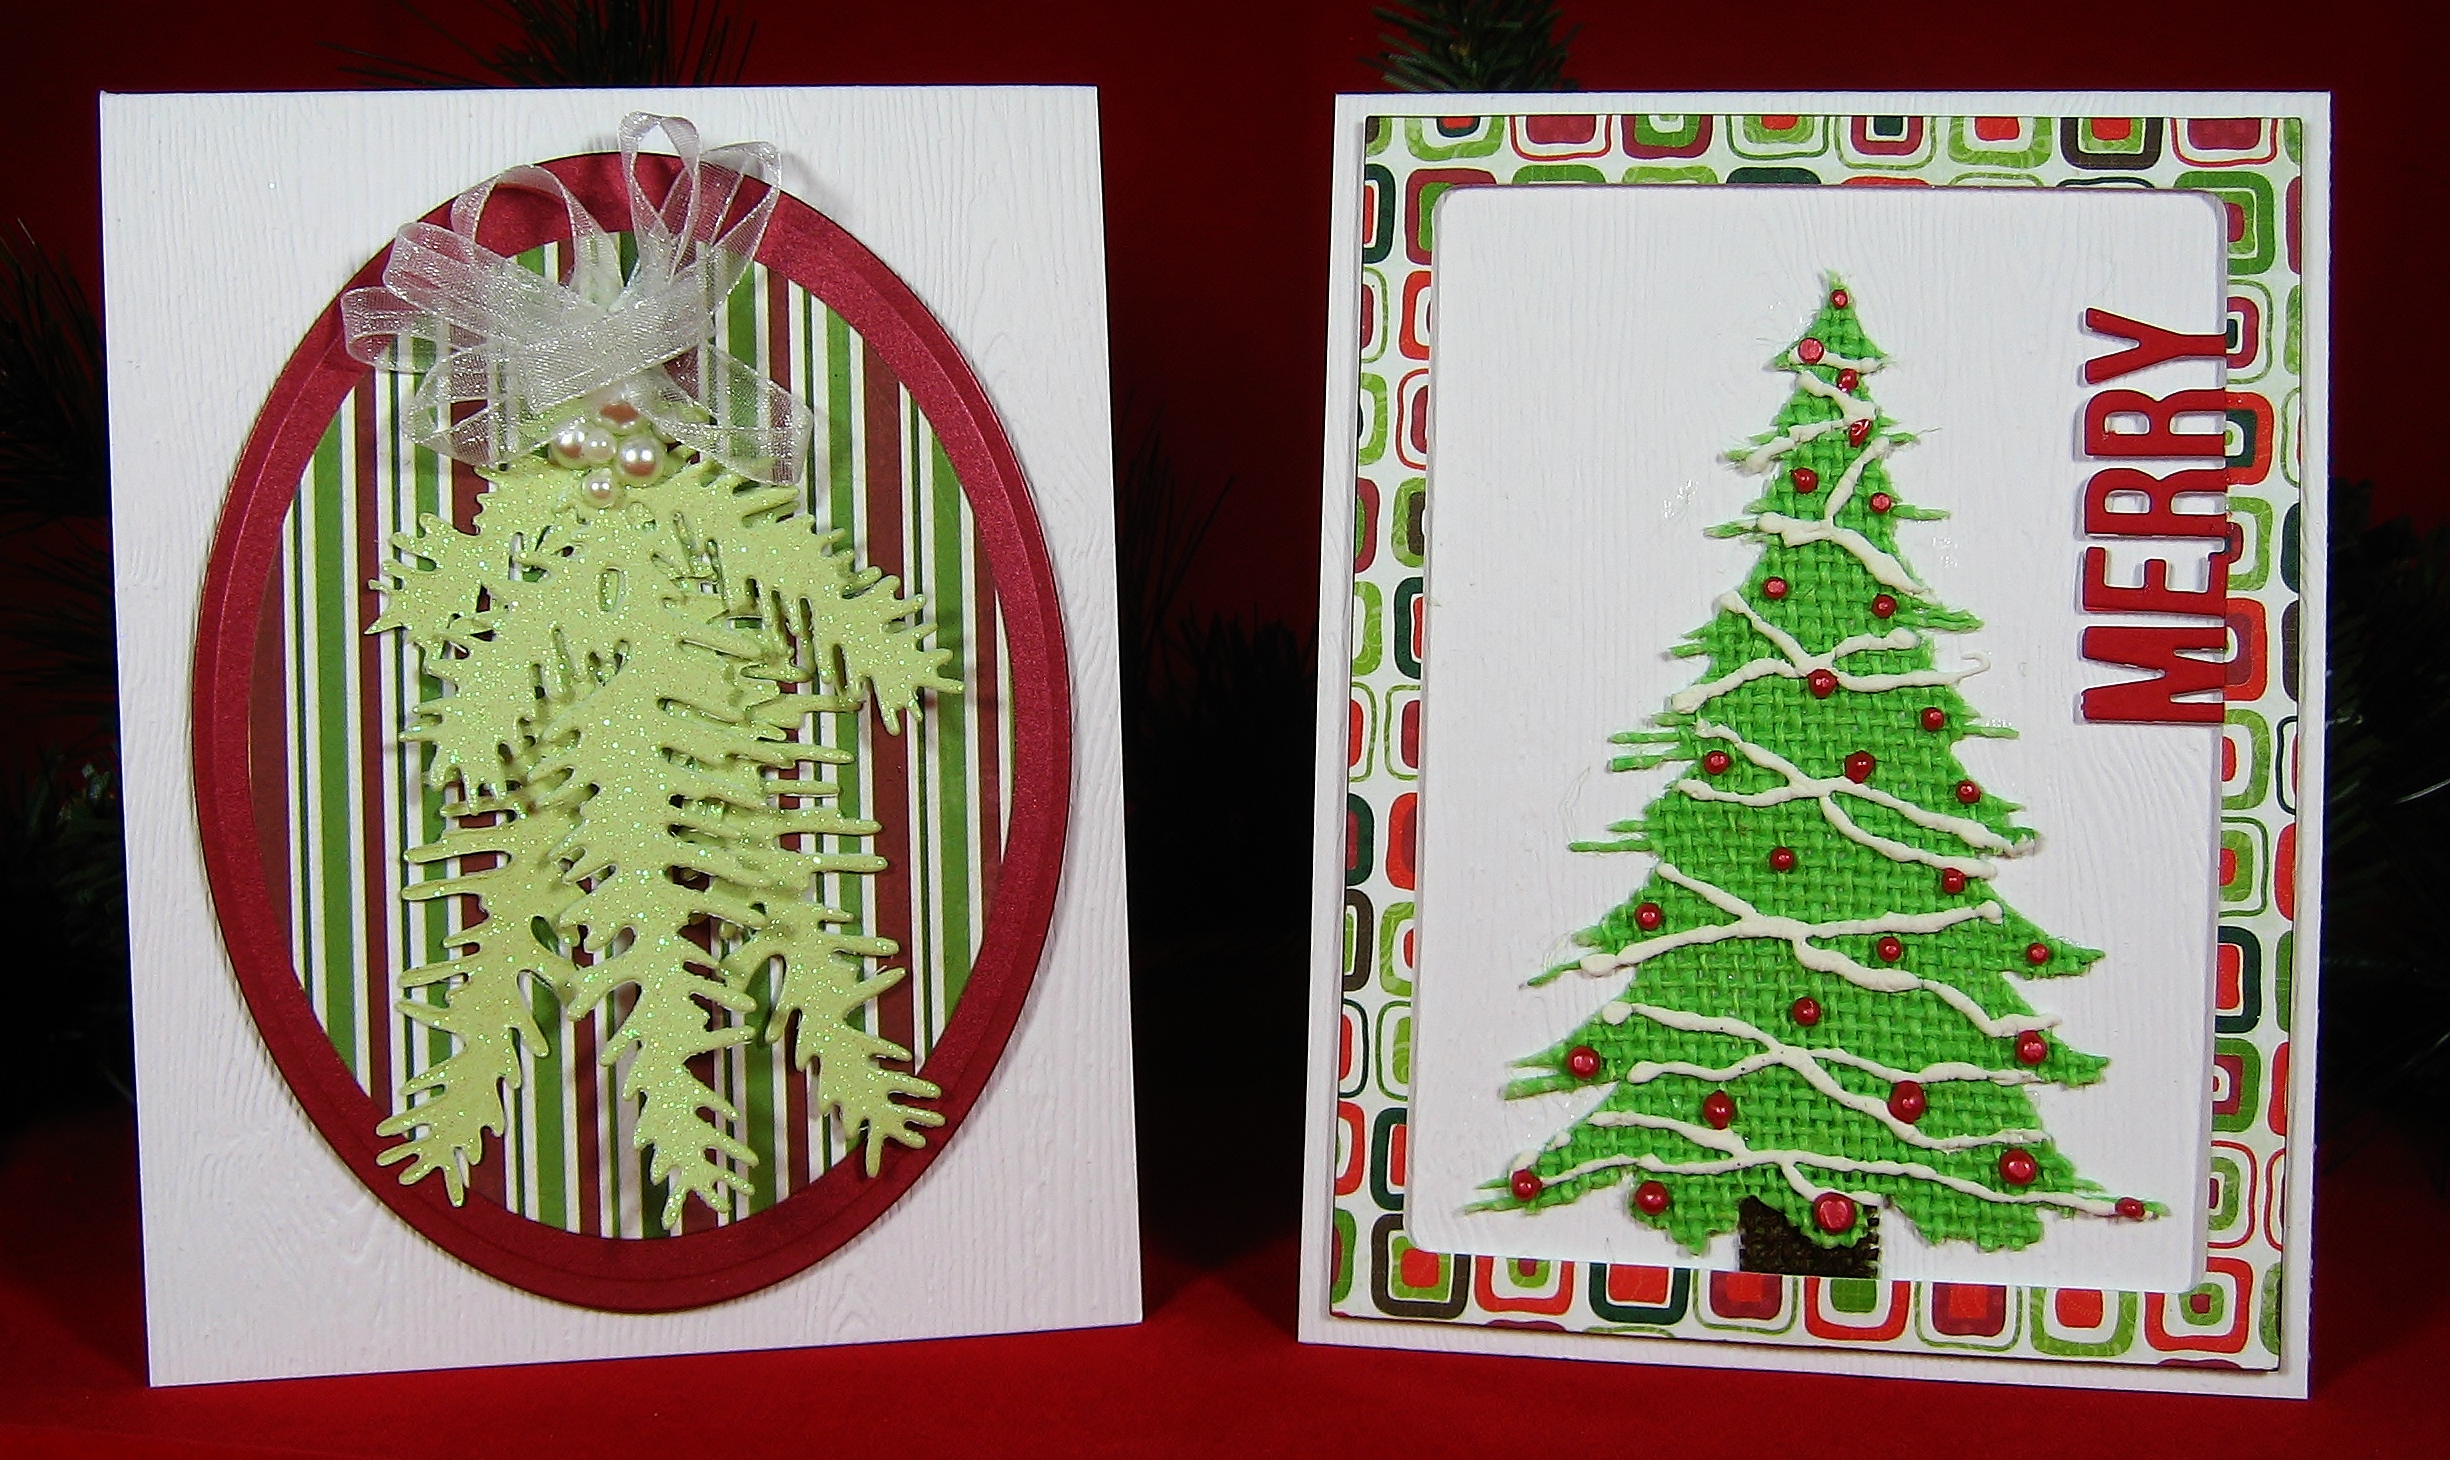
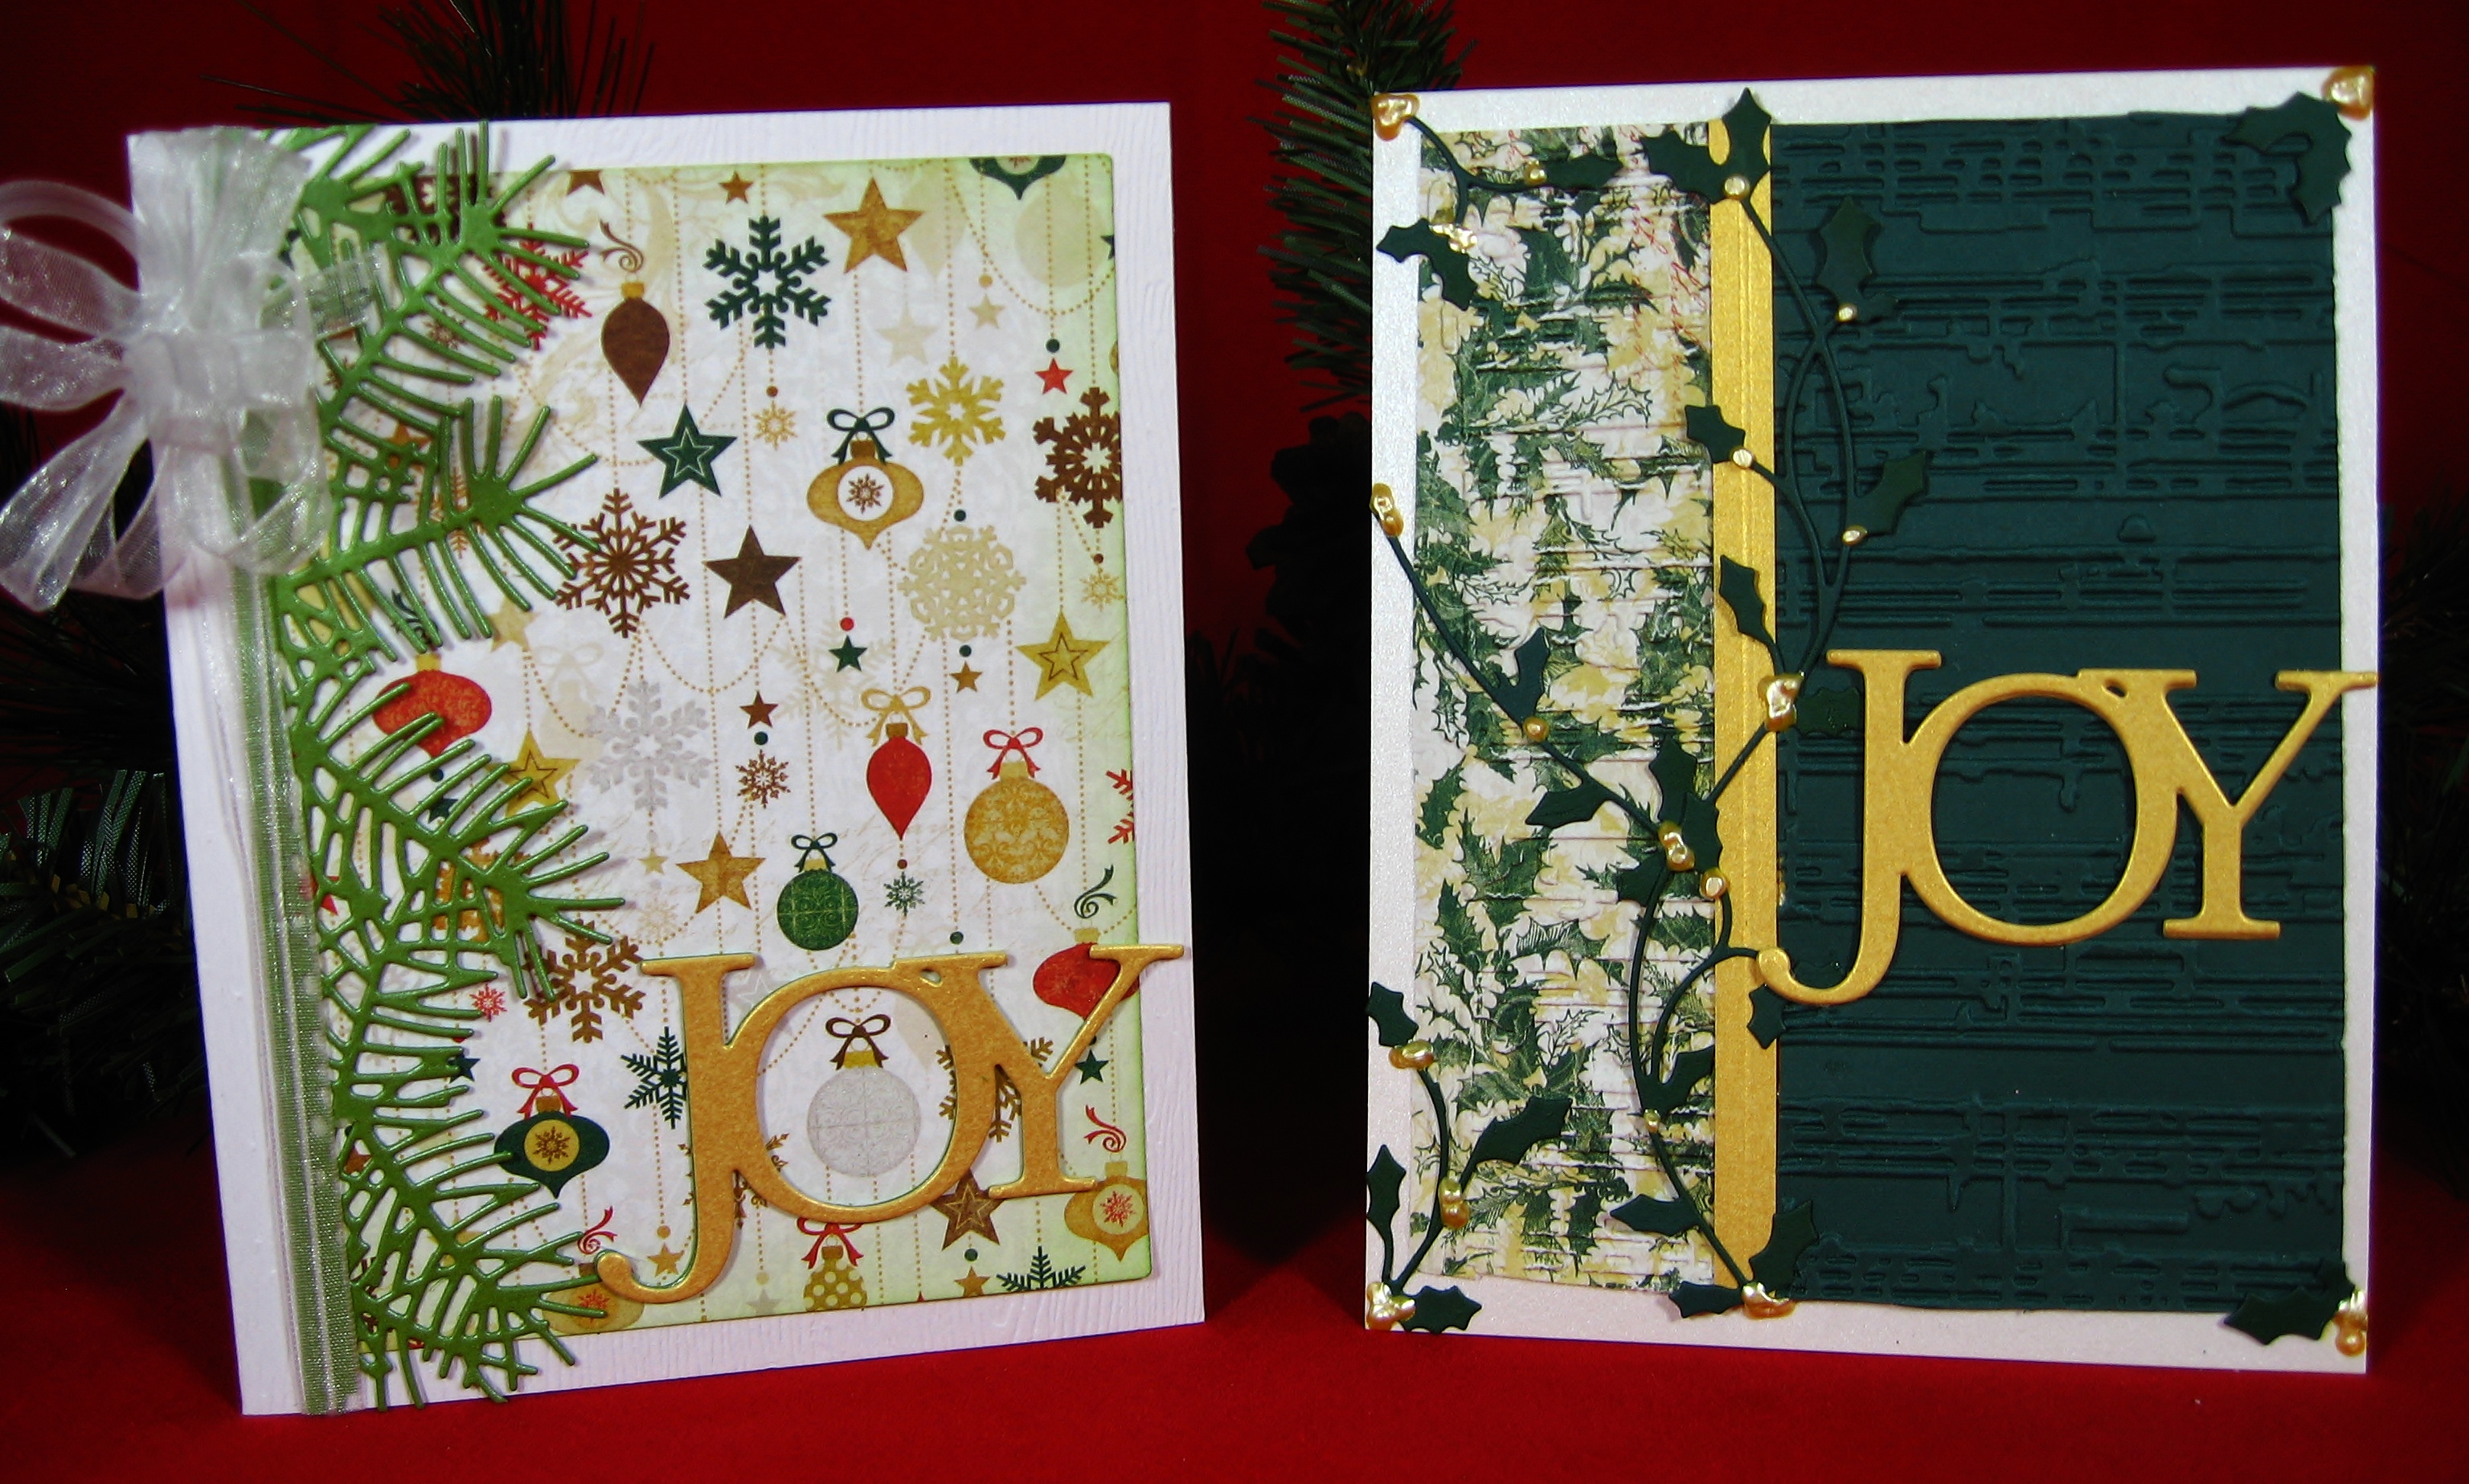
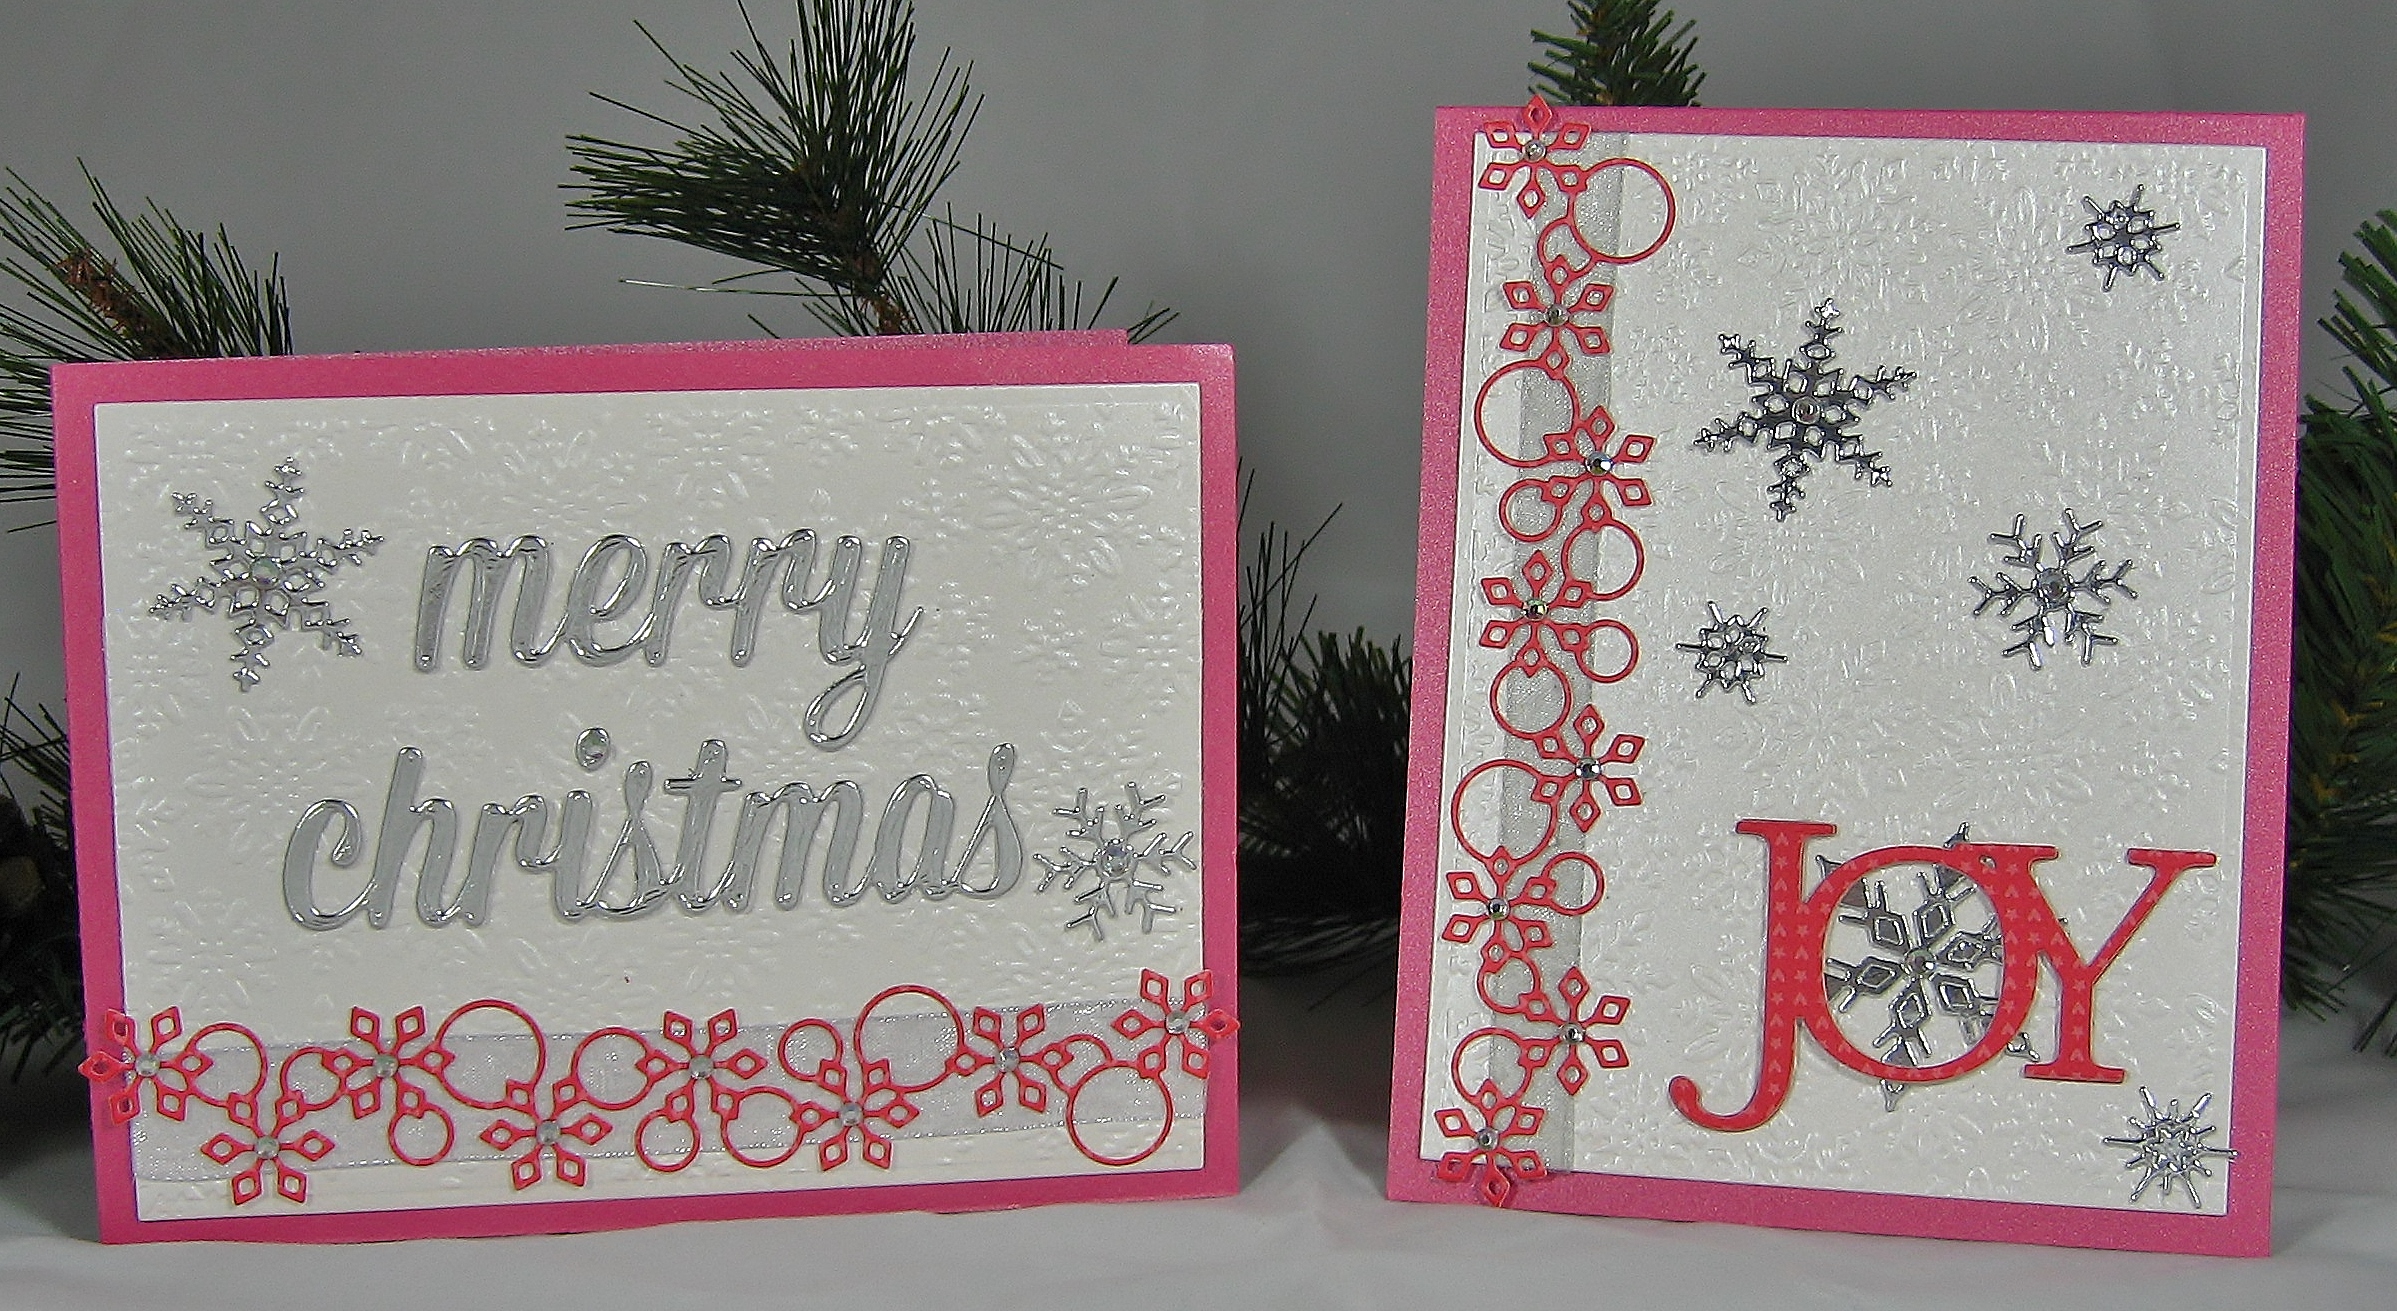
I used really pretty shimmer cardstock and the pictures do not do them justice!  Even the shimmer from the Zig’s Wink of Stella pen does not show well in these pictures.  I guess I need to invest in a better camera – these are taken from a little digital camera — any recommendations?  I hear the DSLR cameras are great.   Any thoughts about the  Canon EOS Rebel T5 DSLR?  I noticed the reviews on Amazon are great (and the prices for the camera and accessories packages are dropping).

I wish everyone a very Merry Christmas, Happy Holidays, and pray for better health and happiness for the rest of this year and in 2015!  Don’t be a stranger! 🙂

Hugs,

Stephanie

Supply List

Stamps

Penny Black’s Christmas Cheer

Waltzingmousestamps.com Seasonal Flourish

Dies 

Memory Box Frosted Christmas Tree

Memory Box “Bells Are Ringing” (98683)

Memory Box Pine Needle Border (98467)

Memory Box Cosmic Star Set (98464)

Memory Box Holly Vine (98188)

Memory Box Grand Merry Christmas (98680)

Memory Box Gabriella Border (98649)

My Favorite Things’s Dienamics “MERRY” Photo Frame (mftstamps.com)

Savvy Dies “JOY”

Impression Obsession’s Small Snowlakes (iostamps.com DIE100-F)

Marianne Creatables Pine Branch (LR-0181)

Cottage Cutz Winter Pine Branch (CCE-045)

Lil’ Inker Designs Stitched Snowflakes (lilinkerdesigns.com)

Cheery Lynn Designs “Bows and Bells” (cheerylynndesigns.com DL163)

Dee’s Distinctively Christmas Tree #3

Simon Says Stamp “Merry Christmas” Die

Simon Says Stamp Falling Stars Die Plate

Craft Dies by Sue Wilson “Holly Accessory Kit” (CED3014)

Papertrey Ink’s One Liners Die Collection (papertreyink.com)

Spellbinders Ovals

Spellbinders Matting Sets A & B

Embossing Folders 

Stampin’ Up Textured Impressions Square Lattice

Anna Griffin Swedish Bells

Embossalicious Die’sire “Let It Snow”

Sizzix Tim Holtz Alterations Sheet Music A2

Darice Basketweave

Paper – Bases

Paperandmore.com Wood Grain Lumba White 111# (Best woodgrain paper out there IMHO)

Paperandmore.com Pine Linen Cardstock 80#

Paperandmore.com Cherry Red Cardstock 100#

Papertreyink.com Shimmer Paper – Cream, White, Scarlet, Raspberry

Paper – Accents 

Paperandmore.com Pearl Metallic 107# (5×7)

Paperandmore.com Gold Metallic 105# (5×7)

Paperandmore.com Crimson Red Metallic 105# (5×7)

Paperandmore.com Fairway Green Metallic 105# (5×7)

Bo Bunny Mistletoe  (6×6)

DCWV Burlap Mat Stack

DCWV Glitter Cardstock (6×6)

Lawn Fawn Peace, Love, Joy (6×6)

Fancy Pants “Oh, Deer” (6×6)

Carta Bella “So This Is Christmas” (6×6)

Crate Paper “Bundled up” (6×6)

Other 

Aluminum Tape

Ranger’s Tim Holtz Distress Inks – Mowed Lawn, Barn Door

Marvy Uchida Liquid Applique

Bling and pearls from stash

Various ribbons from Papermart.com

Versamark

Ranger Super Fine Detail Embossing Powder (sentiments inside some cards)

Memento Luxe Northern Pine Pigment Ink (inside some cards)

Ranger Liquid Pearls – Buttercup  (for some reason, it went  on great, but by next day -everything was a blob!

End of  Supplies

Online Card Classes – Clean & Simple 3 Has Begun! Homework for Days 1 & 2

I am off on a new adventure, well – a class really, with the gals at onlinecardclasses.com for their third Clean & Simple card classes. yea!!!  Making clean and simple cards is harder than you think!  I love these classes as the ladies always have something great to share and lots of tips and tricks.  The class started this past Monday and, as usual, I am already behind on the “homework”!  The first two days of the week covered different “faux” techniques.  Here is a single layer card I designed using silver embossing powder as “faux” metal for the sentiment and flower embellishment in the corner.

Image

by Stephanie S. Bush @ inkyantics.wordpress.com

Supplies:

Have a splendid day!  More posts to come!

Holiday Card Workshop 2013 – Homework for Day 4

Day 4 is all about stretching your holiday stamps!  Techniques include layer stamping and embossing,  curve stamping, stamping with the back of stamps, and forming stamps into shapes.  I know I get more mileage out of my stamps by using different images & sayings from different stamp sets, together on one card.

I made the following card, using layered stamping, by creating a holiday word background with Paper Smooches Christmas Sampler set.  To add depth to the background, i used the snowflakes from Hero Arts Snow Much Joy stamp set (CL629). I stamped the larger snowflake in Hero Arts Soft Yellow Shadow Ink and stamped the smaller snowflake in Hero Arts Soft Leaf Shadow Ink.  Here’s the card –

ImageIt’s a bit difficult to see the soft yellow snowflakes – they are so subtle!  It looks very nice though – up close & personal!

Supplies:

  • Card base – Papertrey Ink Berry Sorbet
  • Layers – American Crafts Cardstock Green (for circle wreath); Neenah Solar White, DCWV Glitzy Glitter Cardstock Stacks (bow, snowflakes)
  • Ink – Hero Arts Shadow Inks in Soft Leaf & Soft Yellow; Hero Arts Mid-tone Pale Tomato
  • Stamps – Hero Arts Snow Much Joy (CL629), Paper Smooches Christmas Sampler
  • Dies – Lil’ Inker Stitched Circles, Impression Obsession Snowflake Dies (DIE024-X)
  • Punches – Martha Stewart Snowflake punches
  • Other – Liquid Pearls Rouge, Washi Tape

The inside sentiment is from the same Hero Arts stamp set and reads “wishing you a bright and sparkling holiday season”.

Try to stay toasty! Hugs, Stephanie

OCC Summer Camp 2 – Week 1, Day 5

While today is officially the start of  Week 2 at onlinecardclasses.com’s Summer Card Camp 2, I am just getting around to posting my homework from last Friday’s class (I had a very busy weekend!).

We were given the choice of 6 additional color combos with which to create a card, and I chose the 3rd color combo which included orange, aqua, purple, white and a pinkish-purple.  We could use all 5 colors or 4 out of 5 colors on our card.  I chose to use the white, orange, aqua and purple on my card.

ImageI stamped the sentiment from Hero Art’s Made with Love set (CL491) in Versamark ink and heat embossed with a white detail embossing powder.  Then, using My Favorite Things Abstract Art stamp set, I stamped over the embossed image in the various colors.  I did cut many of the dots in this set apart so i could ink them in seperate colors and stamp to make it appear more random.  For texture, the front of the card was dry embossed with Papertrey’s Linen Impression plate. Oh, the inks used are Adirondack Brights Sunset Orange, Ranger Archival Aquamarine, and Memento Grape Jelly.

I seem to migrate to bright bold colors and contrast. 🙂  Hope everyone had a wonderful weekend! Hugs!

OCC Summer Camp 2 – Week 1 Day 1

Today is the official start of Summer Camp 2 at onlinecardclasses.com! Wooohoo!  I find that attending classes, such as this one, force me to think outside the box and inspire me to sit down and get creating- especially when there is HOMEWORK!  Today’s lesson combines using a specific color palette with the option of using one of three sketches.

I chose the second sketch – putting my own personal spin on it! Instead of using different colored strips of cardstock, as demonstrated by Kristina in class, I decided to go with a piece of designer paper that has stripes of chevrons in varying colors – including the colors in this week’s color palette. Here is my card –

Image

The card base is Gina K.’s Pure Luxury cardstock in Blue Raspberry.  Both the orange and yellow frames were cut from DCWV cardstock  with Lil’ Inker Designs Stitched Circles and Stitched Rectangle dies.  I just love these dies!  The small rectangle was also cut with a die from the set -using chevron paper from Basic Grey’s Kneehigh 6×6 paper pad.  The “you” die cut with a die from Cheery Lynn Designs. The sentiments on the chevron rectangle were stamped with Versamark and heat embossed with Super Fine Detail Embossing Powder from Ranger.  The sentiments are from Simon Says Stamps “BE” clear stamp set.  The texture on the cardbase and the white circle were made with Papertrey Ink’s Linen Impression Plate.

It’s not too late to sign up and join in the fun! Take care all! Hugs!

Moxie Fab’s Tuesday Trigger: Scene in Tangerine Challenge

I was SO inspired by the colors in this weeks Moxie Fab’s Tuesday Trigger: Scene in Tangerine challenge!  Love this color combination! Cath has done it again – giving us another wonderful color challenge! 🙂   Just click on the following image for all the details and join in!  The more the merrier!

Here’s my card –

ImageI had tons of fun making this card!  Items used in the card include Paper Smooches “Believe in the Magic” sentiment from their Joyful Greetings set (on the inside, I wrote “… of you” — so it’s Believe in the Magic of You! – cute, huh?)

The striped background was made by using Memento Markers which I colored directly onto Impressions Obsessions’s  C-A-C Thick and Thin striped background, misted with water, then pressed a piece of  Neenah Solar White Super Smooth cardstock.  Papertrey Ink’s Rick Rack border die was used on green, yellow and orange Bazzill cardstock.  I ran the rick rack pieces through my Vagabond in a Sizzix dots embossing folder.

The yellow and white squares were textured with Papertrey Ink’s Canvas Impression plate, and then, run back through the Vagabond with Lil’ Inker’s Stitched Square Mats dies.  The little banners (used with orange striped brads) are die cuts made with a dies from My Favorite Things Die-namics Blueprints One set.  They are also moveable!

The card is an A2 sized card.  It’s such a bright and cheerful card. Fun, fun, fun!!!

Please leave your comments – I love hearing from everyone and anyone! Hope you all are staying cool.  Here in Oklahoma, we had a cool front come through, and it’s beautiful outside!

Take care! Hugs!

Fusion Card Challenge #2

This week’s challenge at http://fusioncardchallenge.blogspot.ca/ is :

I chose to do the FUSION method again this week.  I used the card layout on the left, and for the inspiration from the photo on the right , I chose the shapes in the pillows – chevrons and circles.  In keeping with the white pillows, I kept a white background.  Here is my take on fusing the two options together  –

Image

Products used:

Would love to hear your comments and opinions! 🙂

Two Challenges!

There’s a new challenge in town! It’s the Fusion Card challenge (http://fusioncardchallenge.blogspot.ca/) and there are several ways to play it. As you can see, you have options:

And when the submission time is closed, all those who entered get to vote on their favorite!

Fortunately, for me, CAS-Fridays (http://cas-ualfridays.blogspot.com/)  has a similar challenge theme this week –

So, I made this card for these challenges –

Image

I love the look of watercolor so I pulled out my Memento markers, went to coloring my stamps directly, spritzing with water and then stamping! Love the look!  I created my own colored paper – one sheet per each of the following Hero Art’s colors – Soft Green, Bubblegum, Soft Yellow and Butterbar. From these sheets, I used various dies to make the flowers and leafs. I assembled them with Glossy Accents.

The circles were die cut from paper I had watercolor stamped with a chevron background. The inner most circle is glued down directly on the paper, while the second circle has one level of dimensional adhesive, and the outermost circle has 2 level of dimensional adhesive under it. It gives the project kind of a telescoping effect!

Products used:

  • Stamps: Hero Arts Zig Zag Background (CG422); sentiment from Hero Arts Made With Love set (CL491)
  • Papers: Neenah Solar White, Paperandmore.com Ponderosa Pine Linen 80# cardstock, Paperandmore.com’s Pearl Metallic 80# Text
  • Punches & Dies: Spellbinders Standard Circles Large; Papertrey Ink Bloom Builders #3, MFT Die-namics Royal Leaves, MFT Die-namics Upsy-Daisy
  •  Inks/Color Mediums: Memento Dual Markers in Cantaloupe, Tangelo and Rose Bud; Hero Art’s Inks in Soft Green, Bubblegum, Soft Yellow and Butterbar
  • Other: Hero Arts self-adhesive gems, Ranger Glossy Accents, dimensional adhesive, Darice Lines Embossing Folder

You will also find this card in the Hero Arts Flickr Group with the tag April2013A. Details on the Hero Arts April contest can be found at  http://heroarts.com/blogs/club/april-2013-contest-details/ .

Please leave a comment and let me know what you think about it! :)